Appearance
Configure Billplz
Billplz is a powerful payment gateway platform that helps organizations process payments quickly and cost-effectively. This article will guide you through configuring Billplz on your WordPress Site with the Paymattic plugin.
Prerequisites
To get access to the Billplz payment gateway, you need the Paymattic Pro Plugin.
Configuring Billplz Payment Method
Follow these steps to configure the Billplz payment gateway through Paymattic:
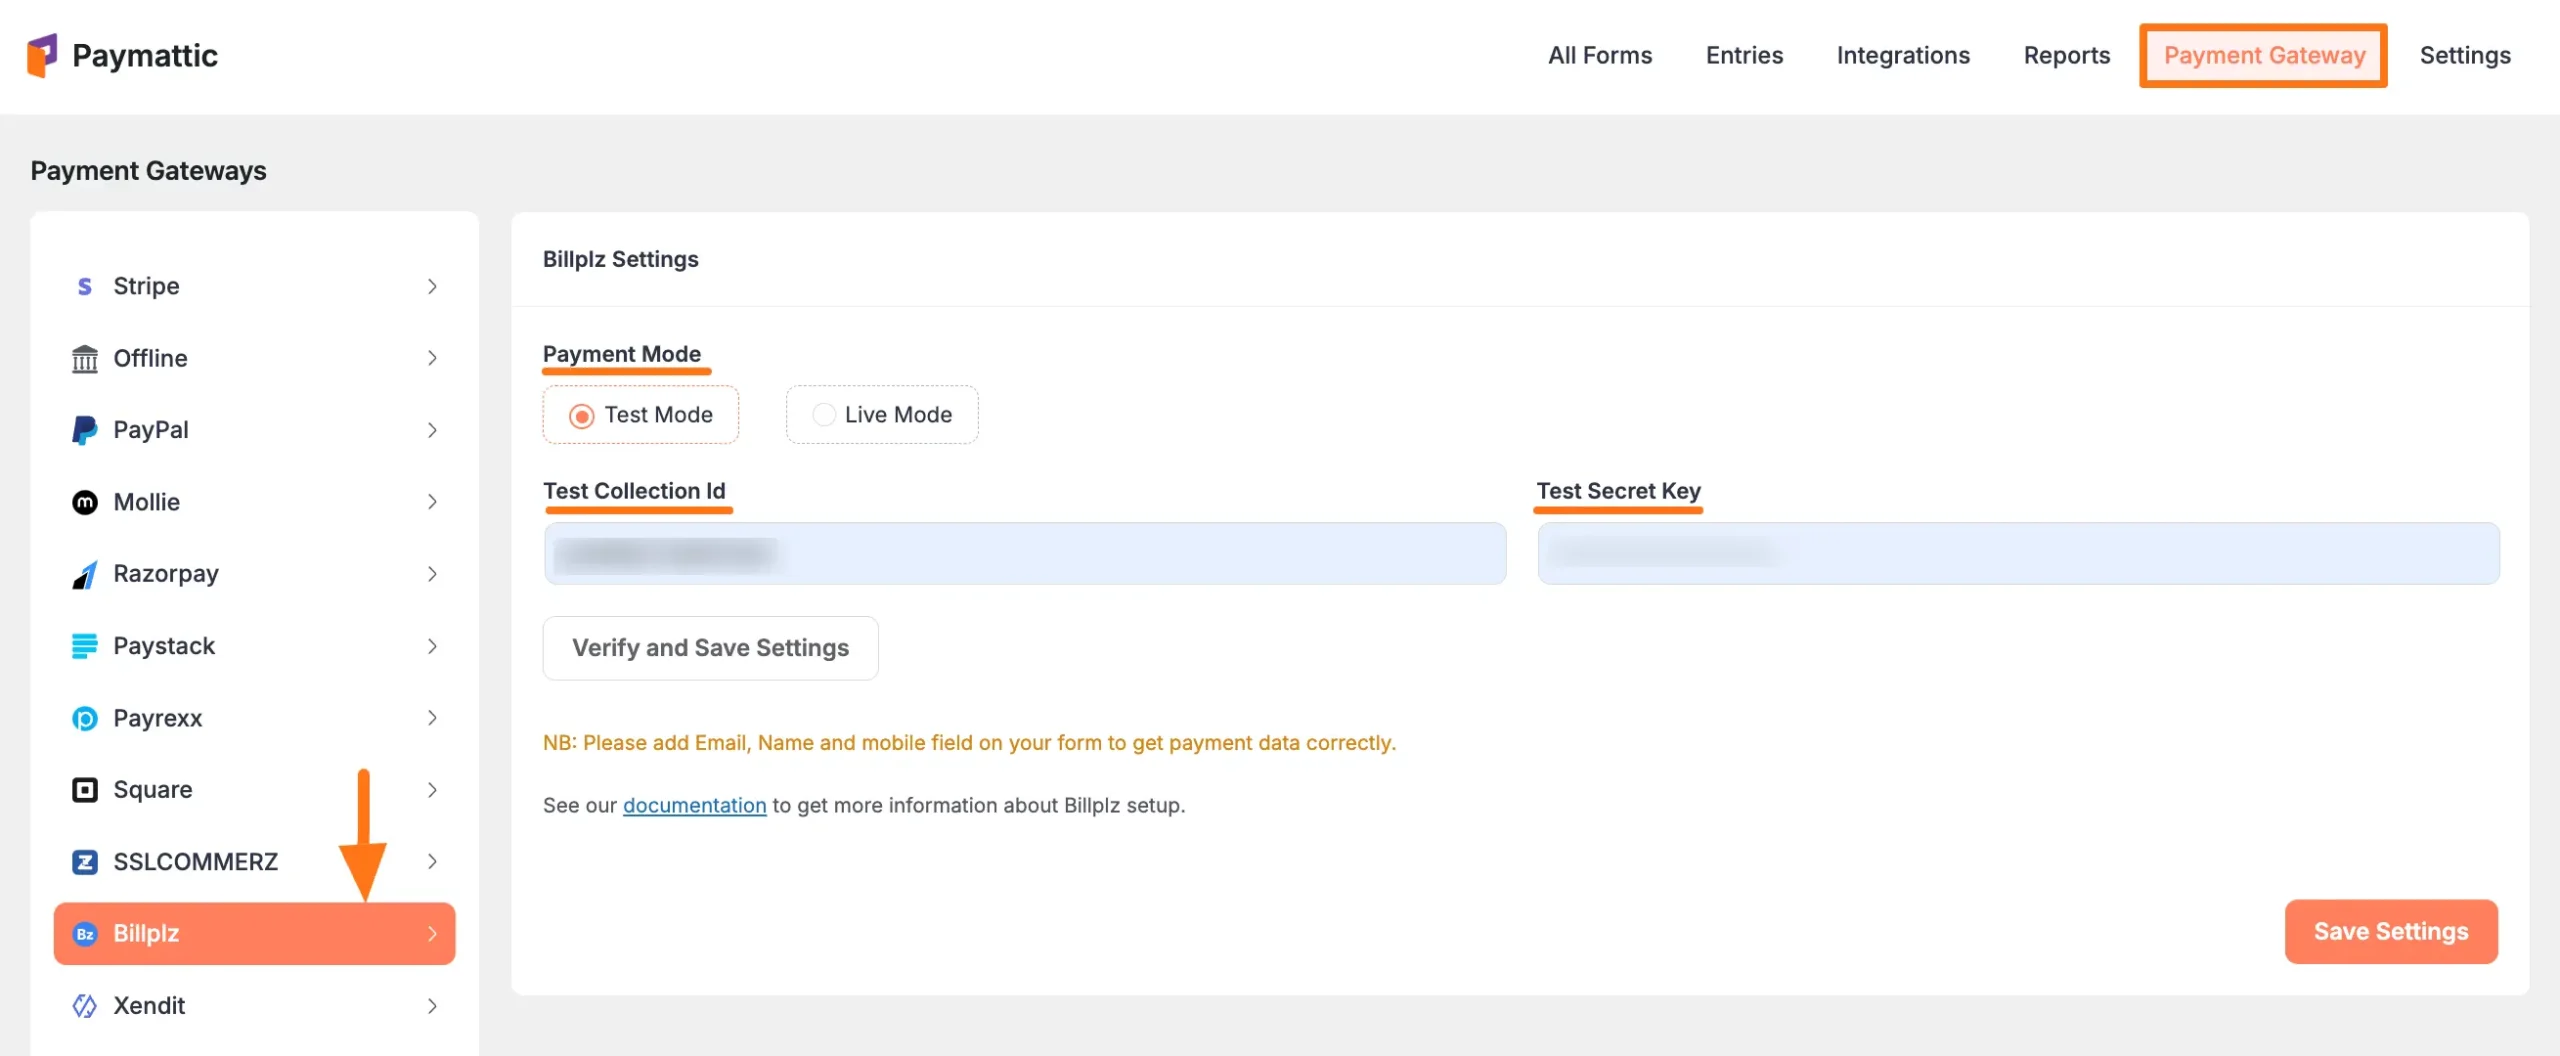
Step 1: Access Billplz Settings
- Go to Payment Gateway from the Paymattic Navbar
- Click the Billplz tab from the left sidebar
- The Billplz Settings page will open
Step 2: Configure Basic Settings
Select your Payment Mode:
- Test Mode - for test payments
- Live Mode - for real payments
Both options follow the same configuration process. For this guide, we'll use Test Mode.
You'll need to obtain two credentials from your Billplz Account:
- Collection ID
- Secret Key
Step 3: Get Billplz Credentials
Log in to your Billplz Account
TIP
If you don't have an account, sign up here.
Getting Secret Key
- In the Billplz Dashboard:
- Click the Dropdown Arrow
- Open Settings from the left sidebar
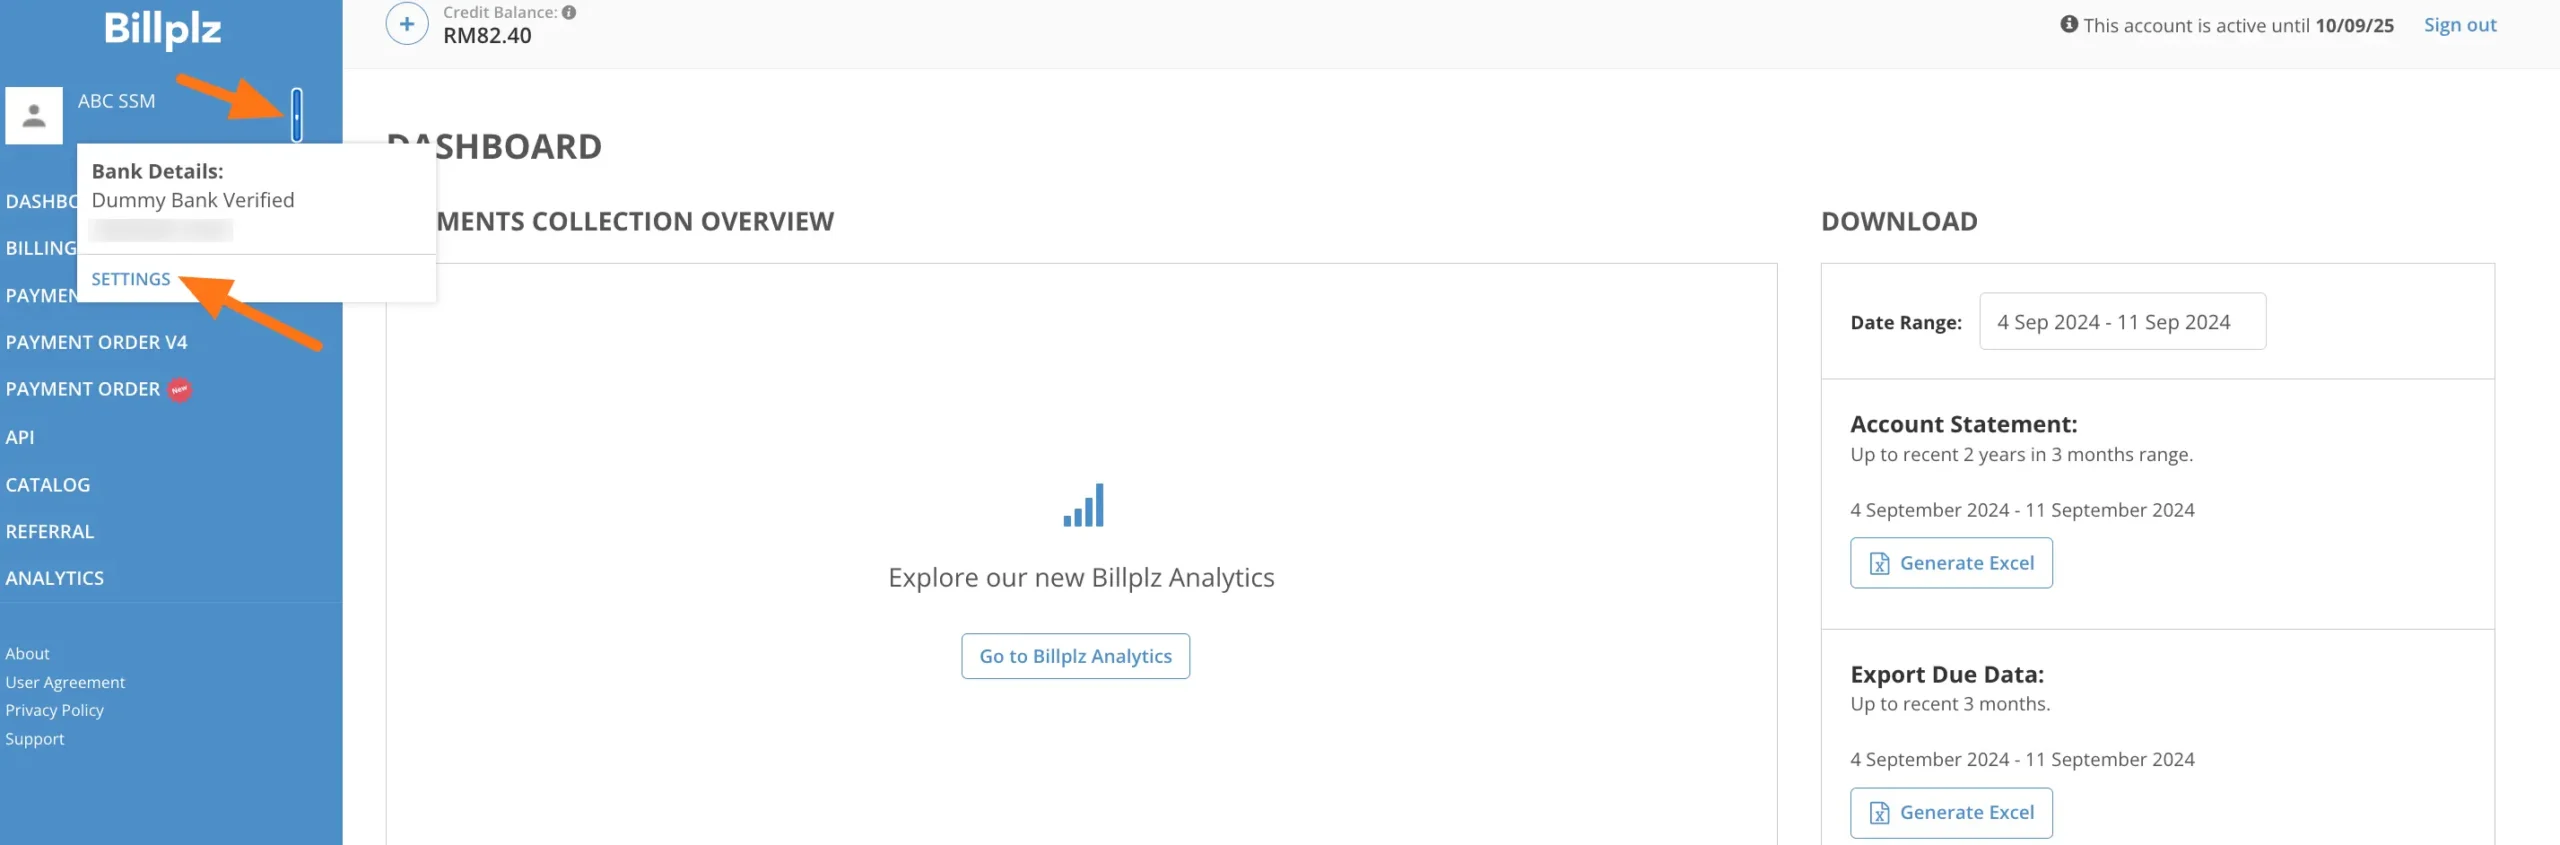
- Get your Secret Key:
- Scroll to Keys & Integration
- Expand BILLPLZ SECRET KEY
- Copy your Secret Key

Getting Collection ID
You can either create a new Collection ID or use an existing one:
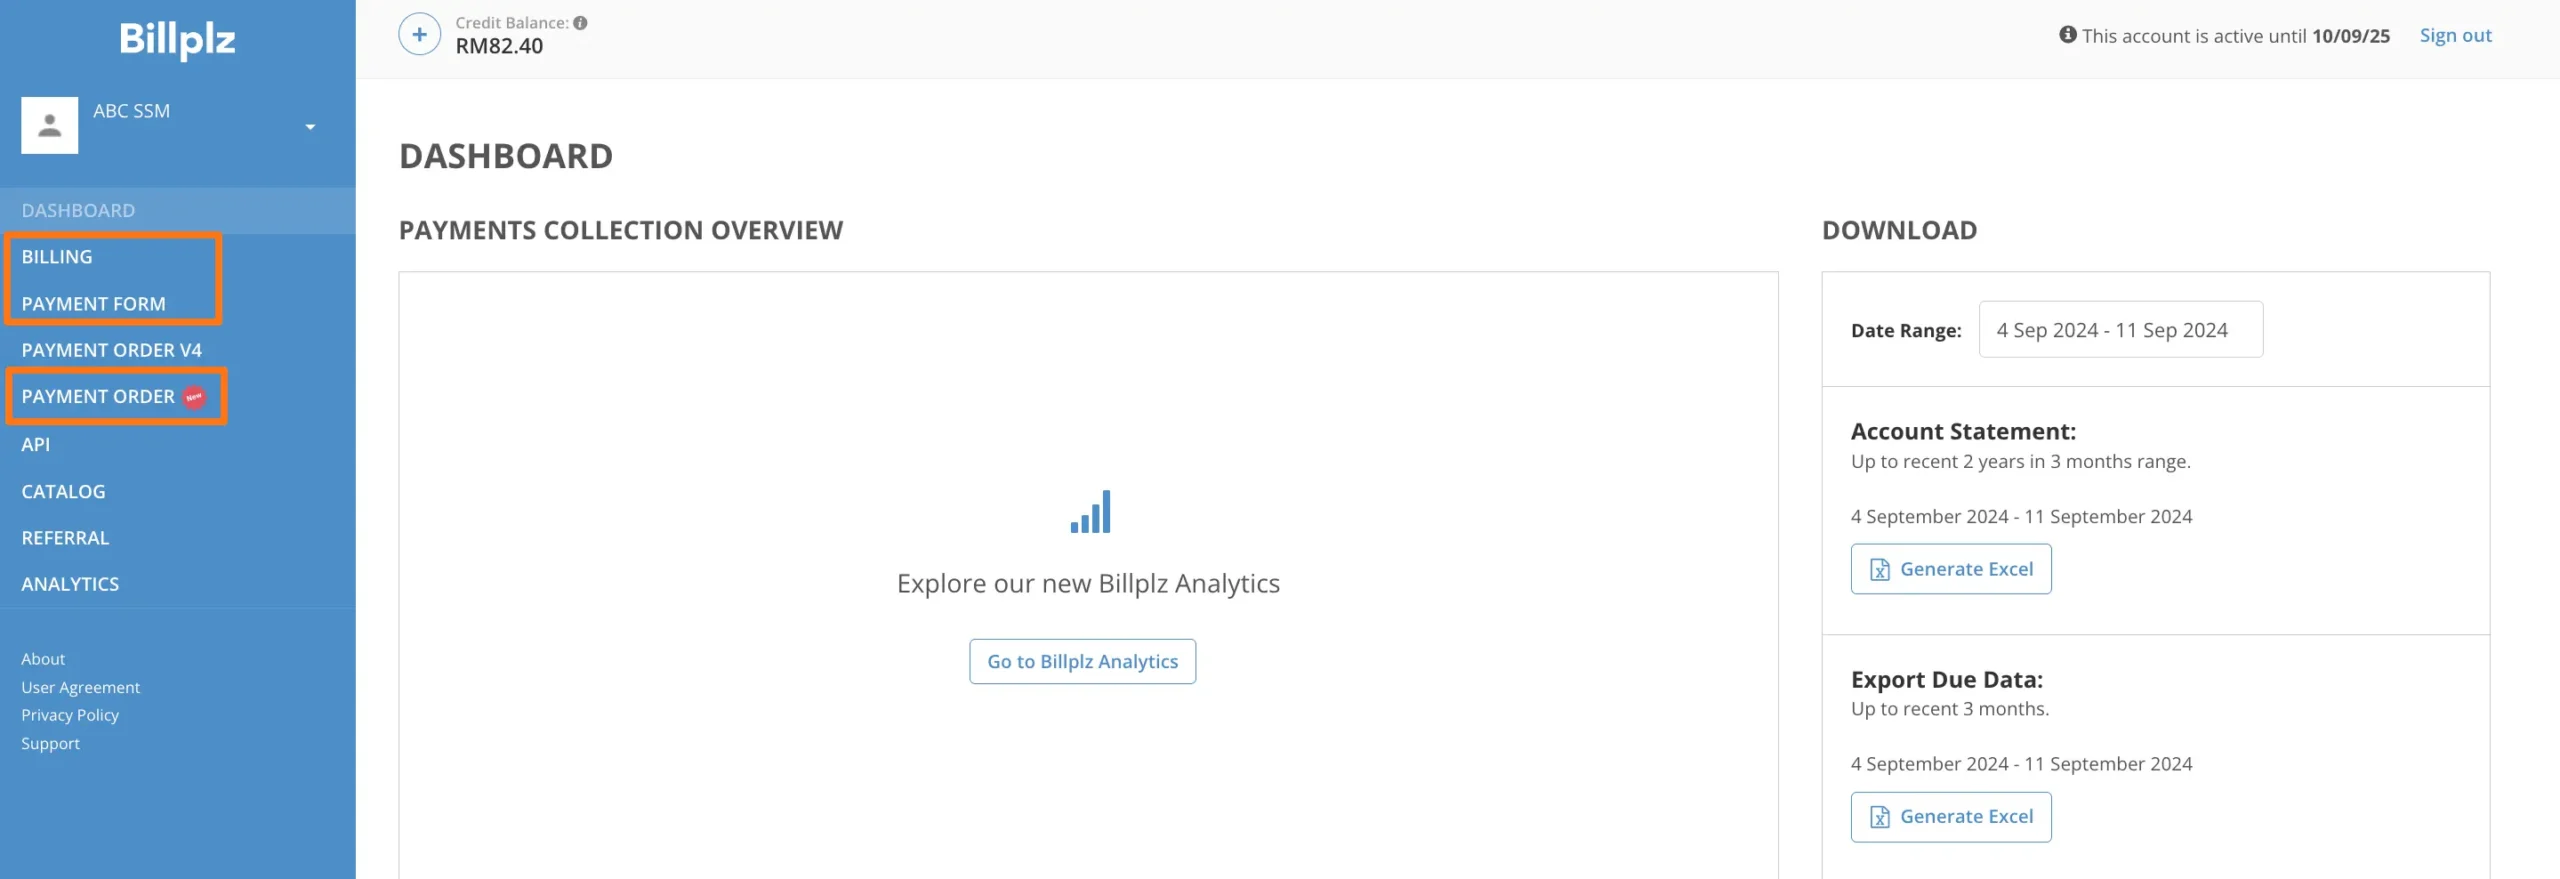
Option A: Create New Collection ID
Go to Billing in the left sidebar
Note
You can also use Payment Form or Payment Order New options
- Click Create Collection
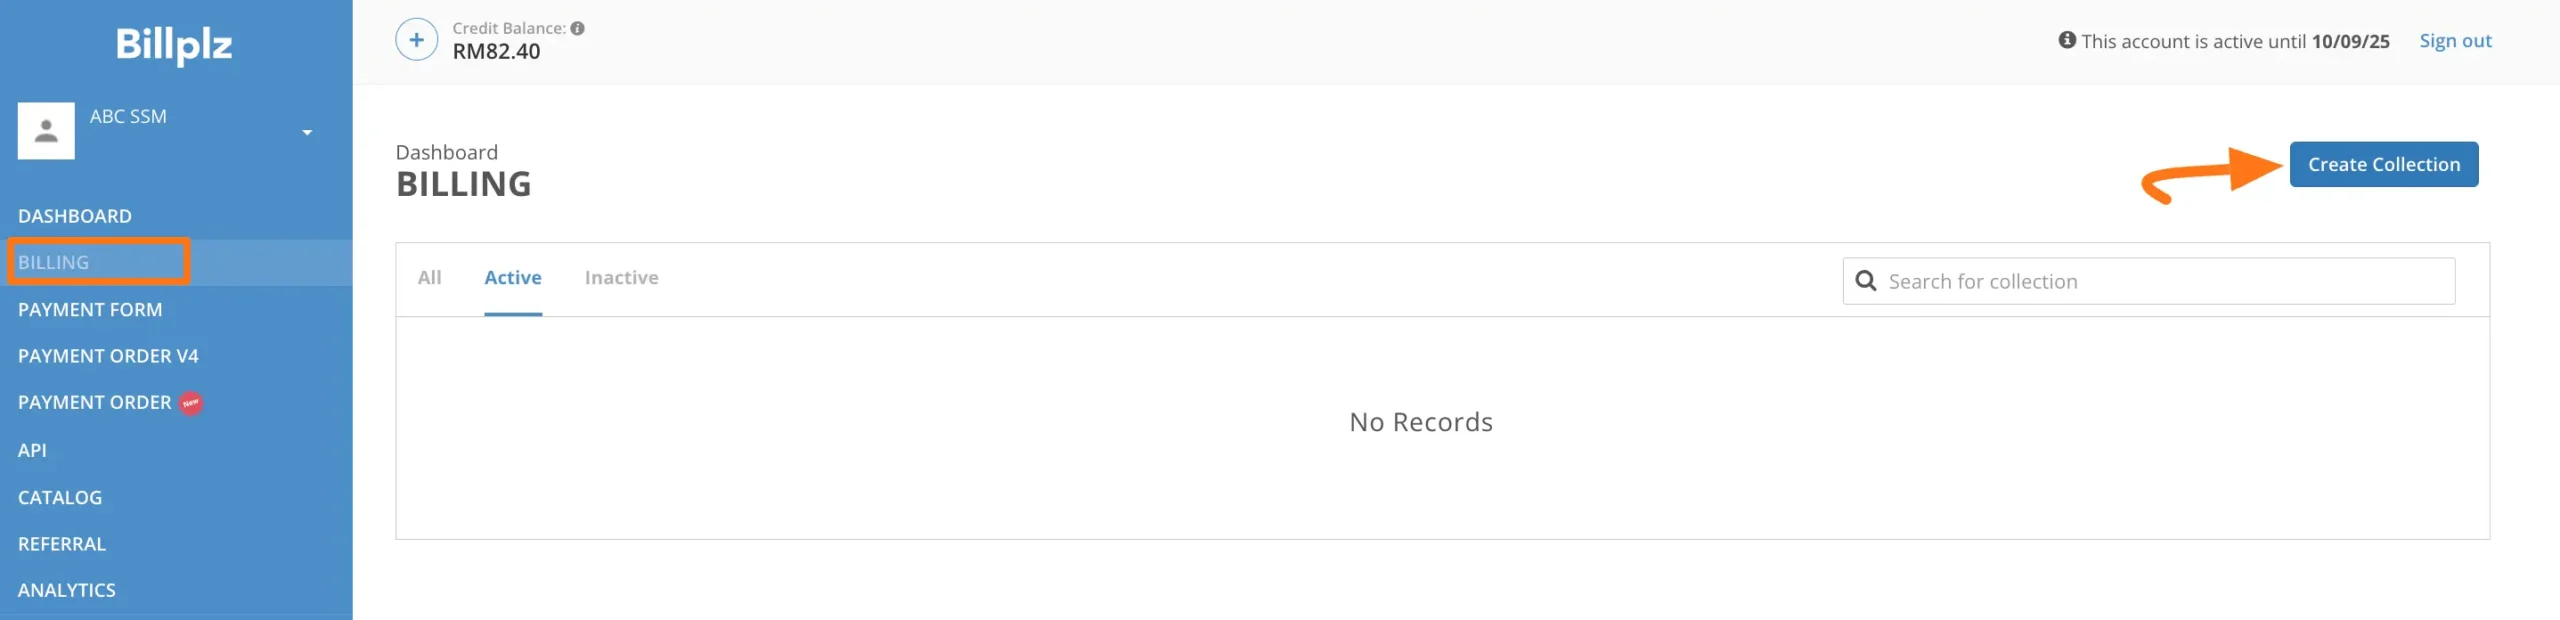
- Set up your collection:
- Enter a Name for the collection
- Click Submit

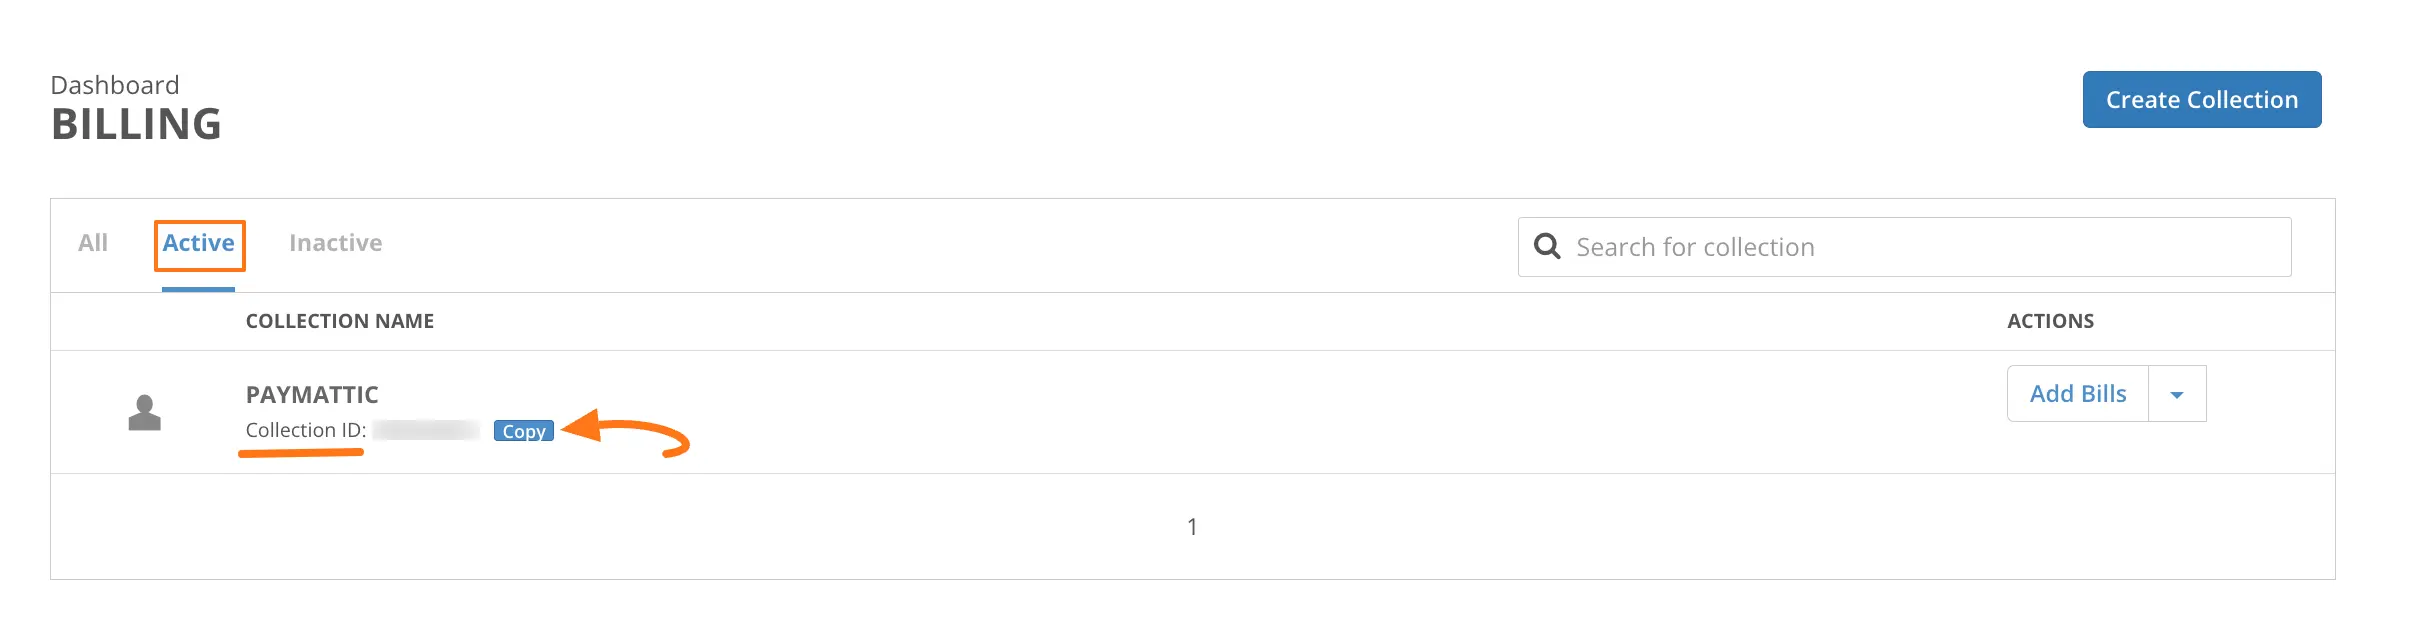
Option B: Use Existing Collection ID
- Go to the Active option
- Find your Collection ID
- Click the Copy button
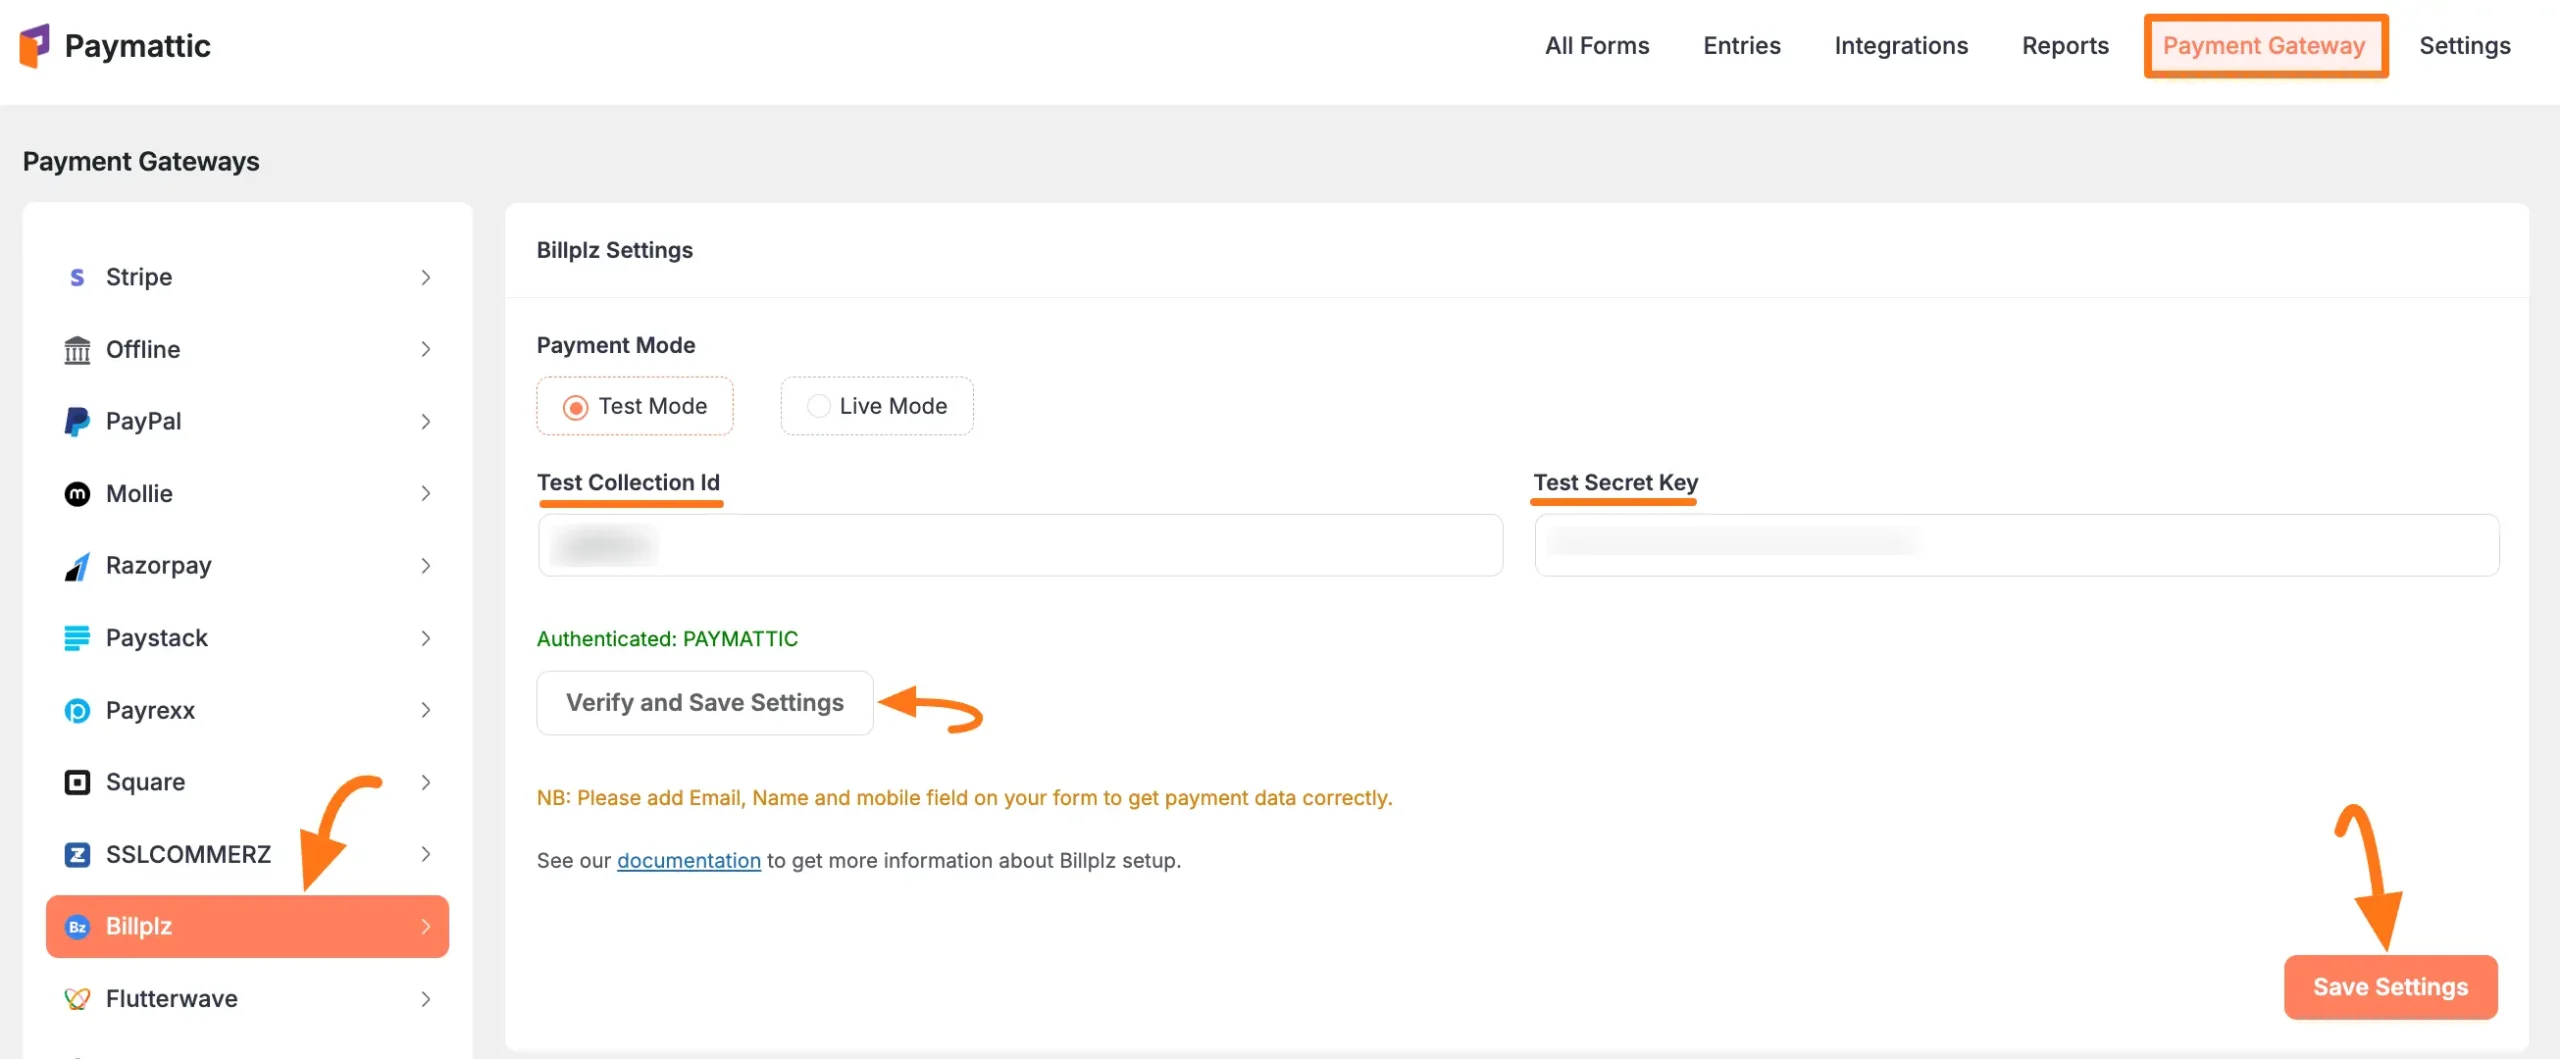
Step 4: Configure in Paymattic
- Return to Payment Gateway from the Paymattic Navbar
- Click the Billplz tab
- Enter your credentials:
- Paste the Collection ID
- Paste the Secret Key
Verify Your Credentials
You can verify your Collection ID and Secret Key by clicking the Verify and Save Settings button before saving.
- Click Save Settings to complete the integration
Using Billplz in Forms
Once you've completed the setup, you can add Billplz to your forms:
For existing forms: Add it to any Payment Form
For new forms:
Learn more about adding payment methods
Note
The Billplz payment method will not function unless you complete the configuration process properly.
Need Help?
If you have any questions, concerns, or suggestions, please contact our @support team. We're here to help!