Appearance
Email Notification for Donation
Paymattic allows you to automate email notifications for every donation made through your forms. These notifications ensure that both the admin and the donor receive essential confirmation messages and payment details without any manual effort. In this guide, you’ll learn how to enable global email notifications and configure them specifically for your donation forms.
Enabling Global Email Notification
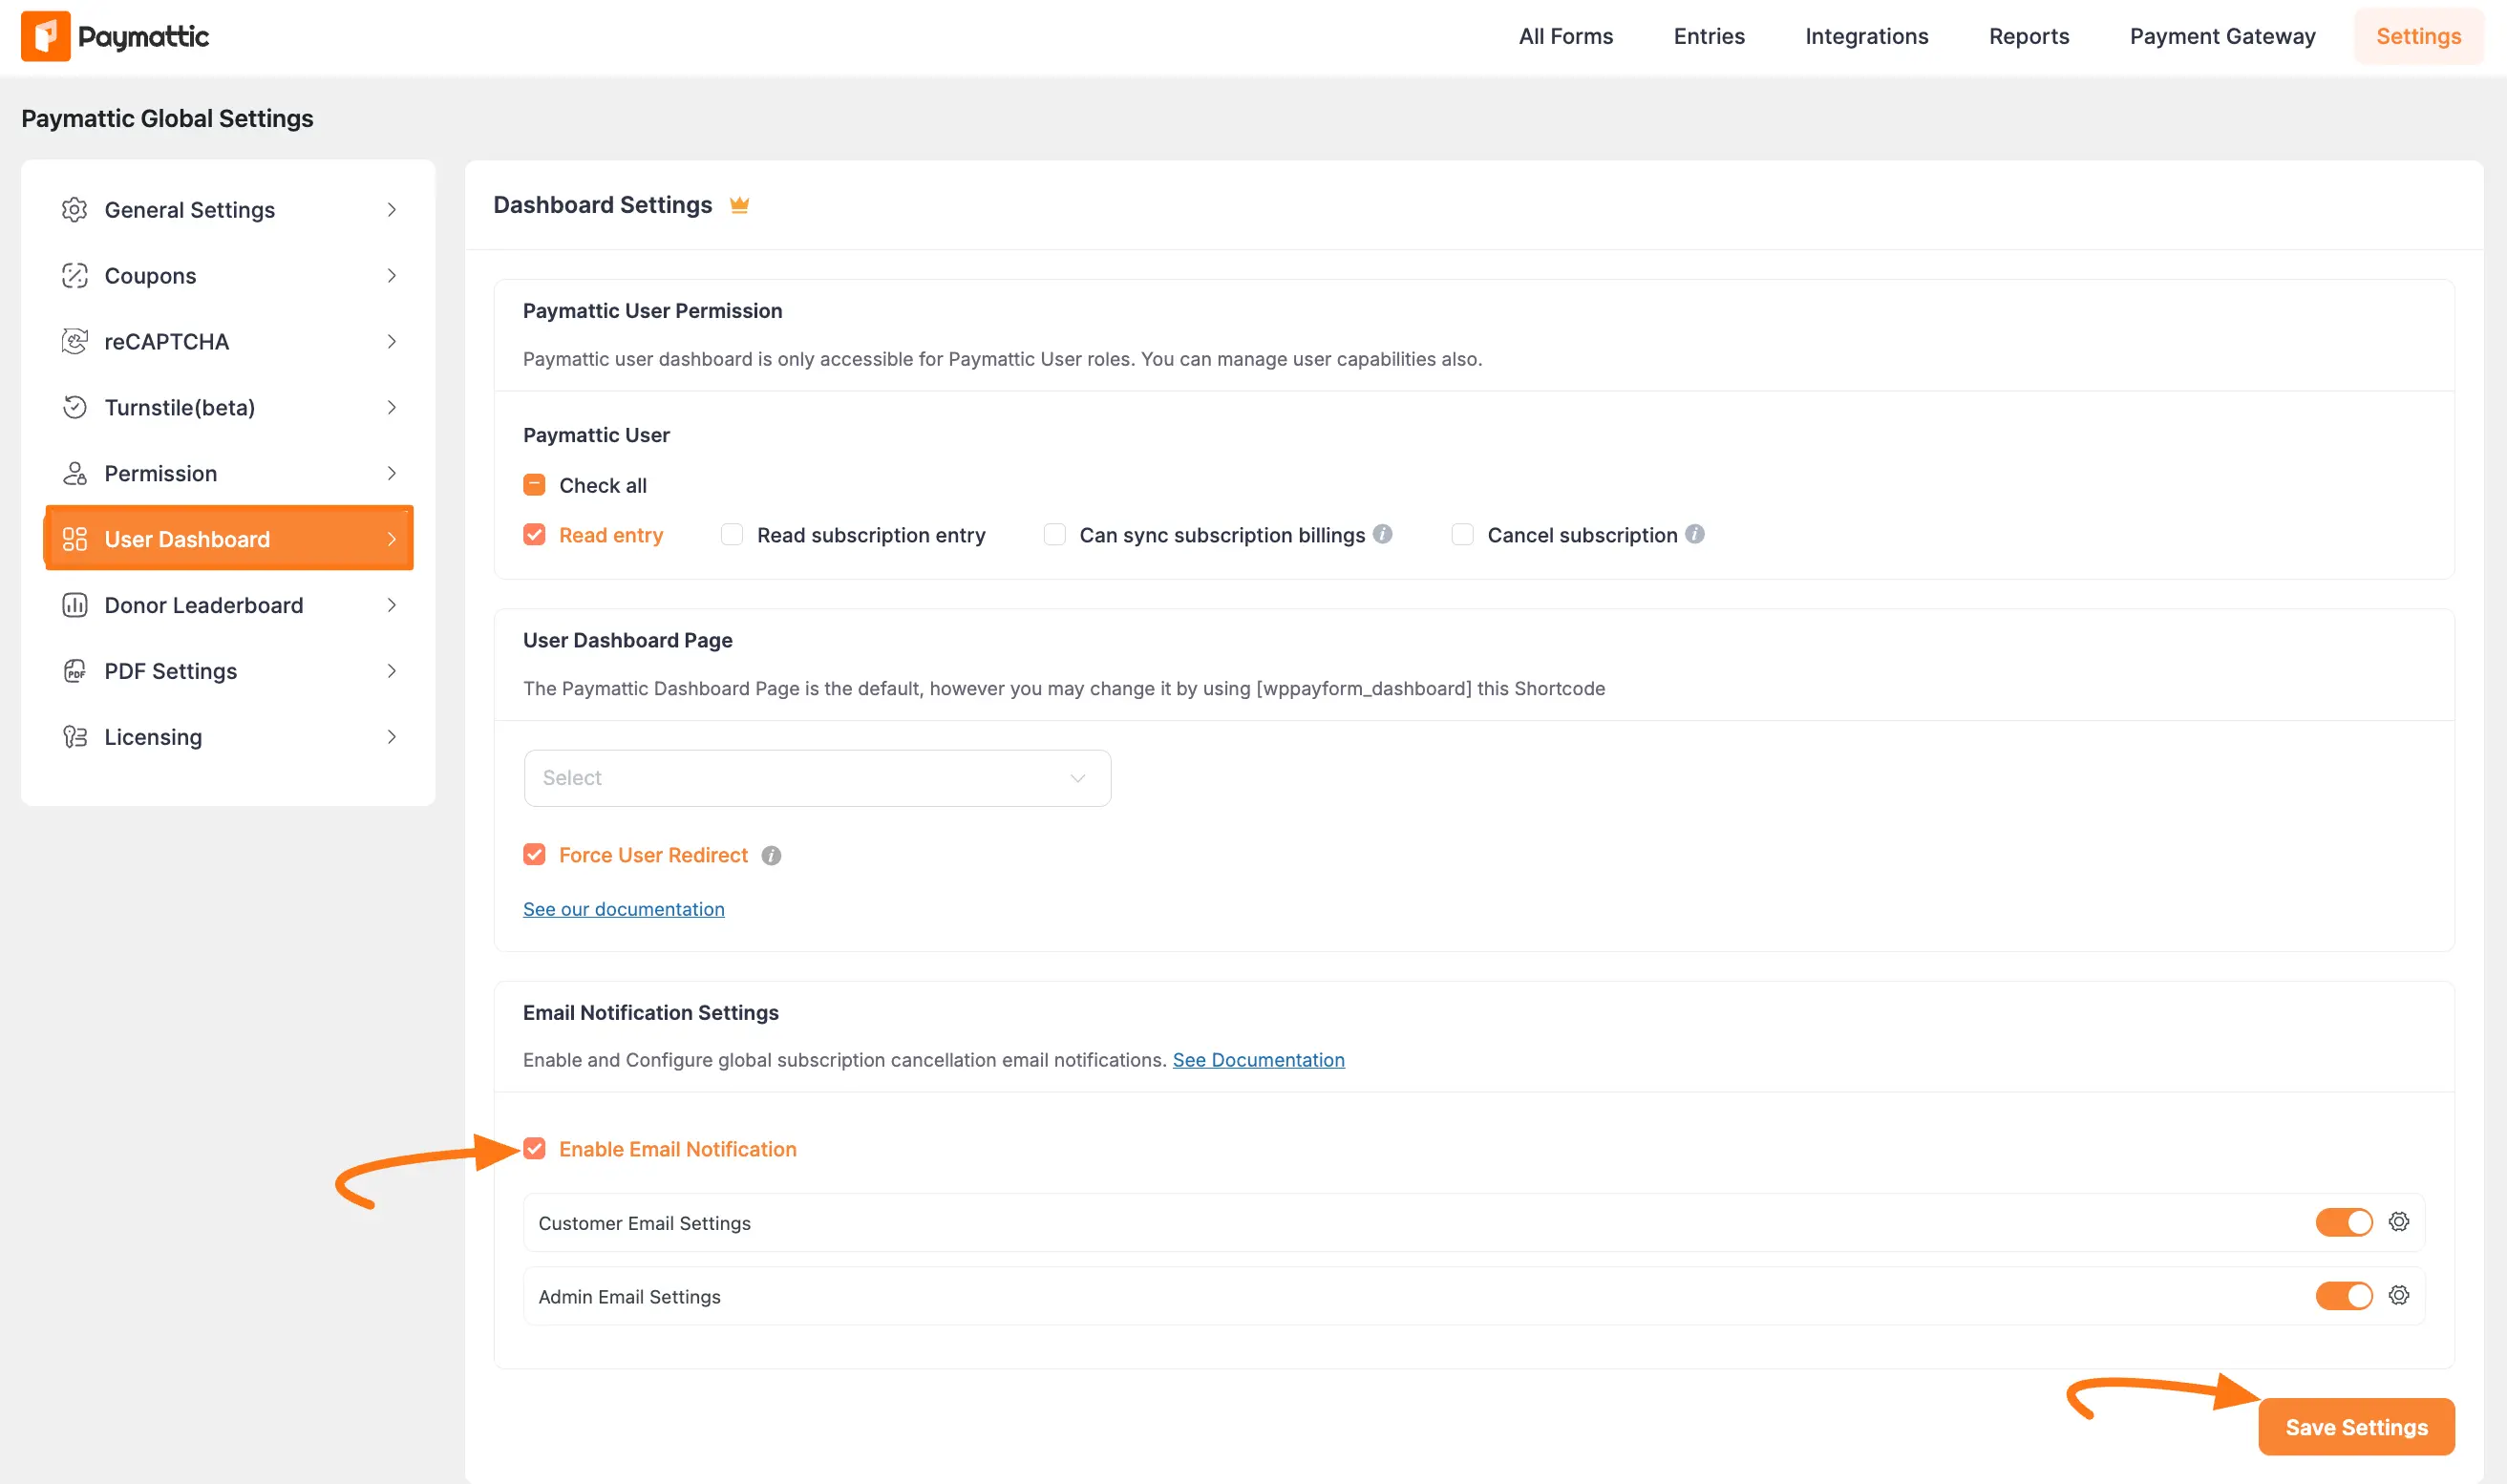
To enable this Email notification, go to your Paymattic Settings, then select the User Dashboard tab.
Here you will see the Email Notification Settings. Enable the Email notification by checking the checkbox.
Once enabled, you will get two notification settings options: one is for the Customer Email Settings, and another is for Admin Email Settings. Click the Save Settings button to confirm the changes.
Creating and Configuring the Donation Form
First, you need to create a donation form to get payment from your customer.
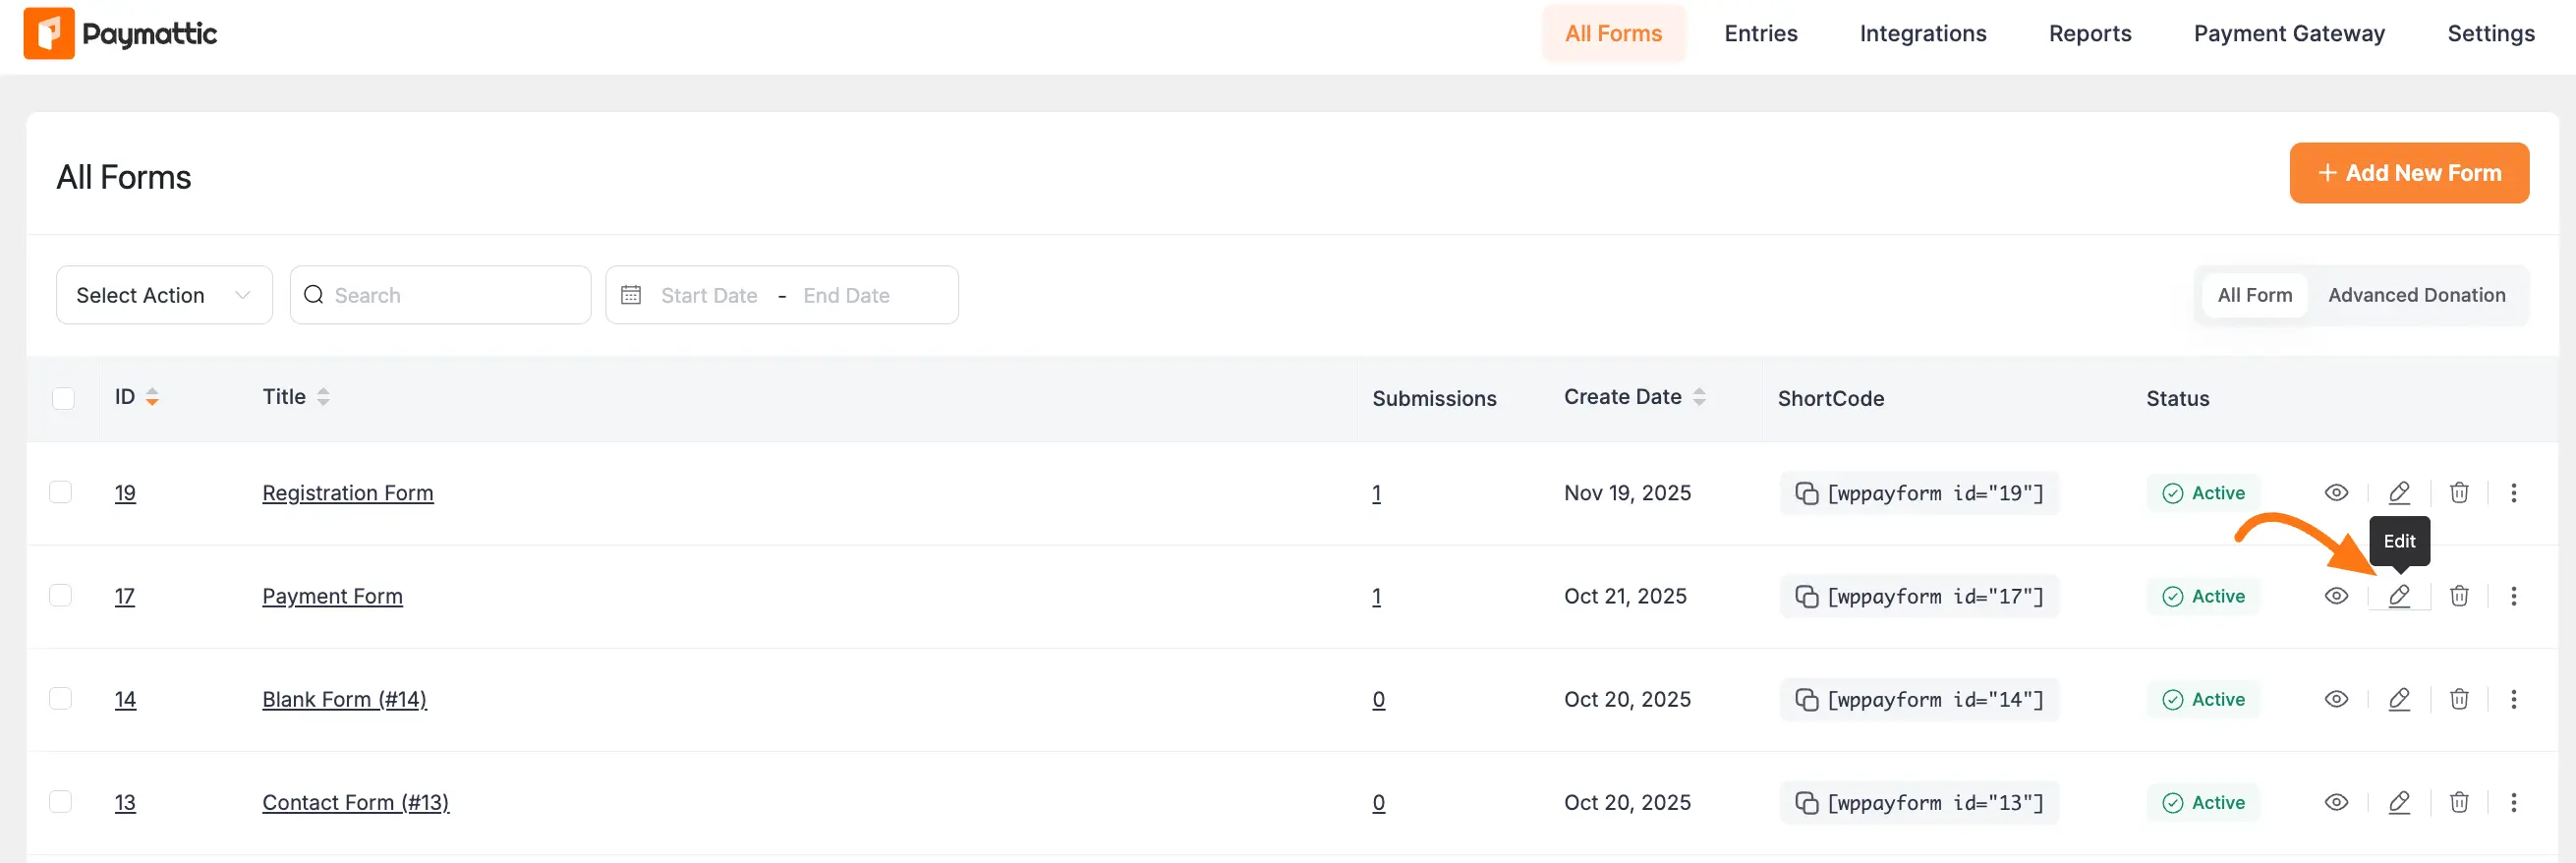
Go to Paymattic Dashboard from the WordPress Left Sidebar. Click the Create Form, or click the Edit icon for the existing form.
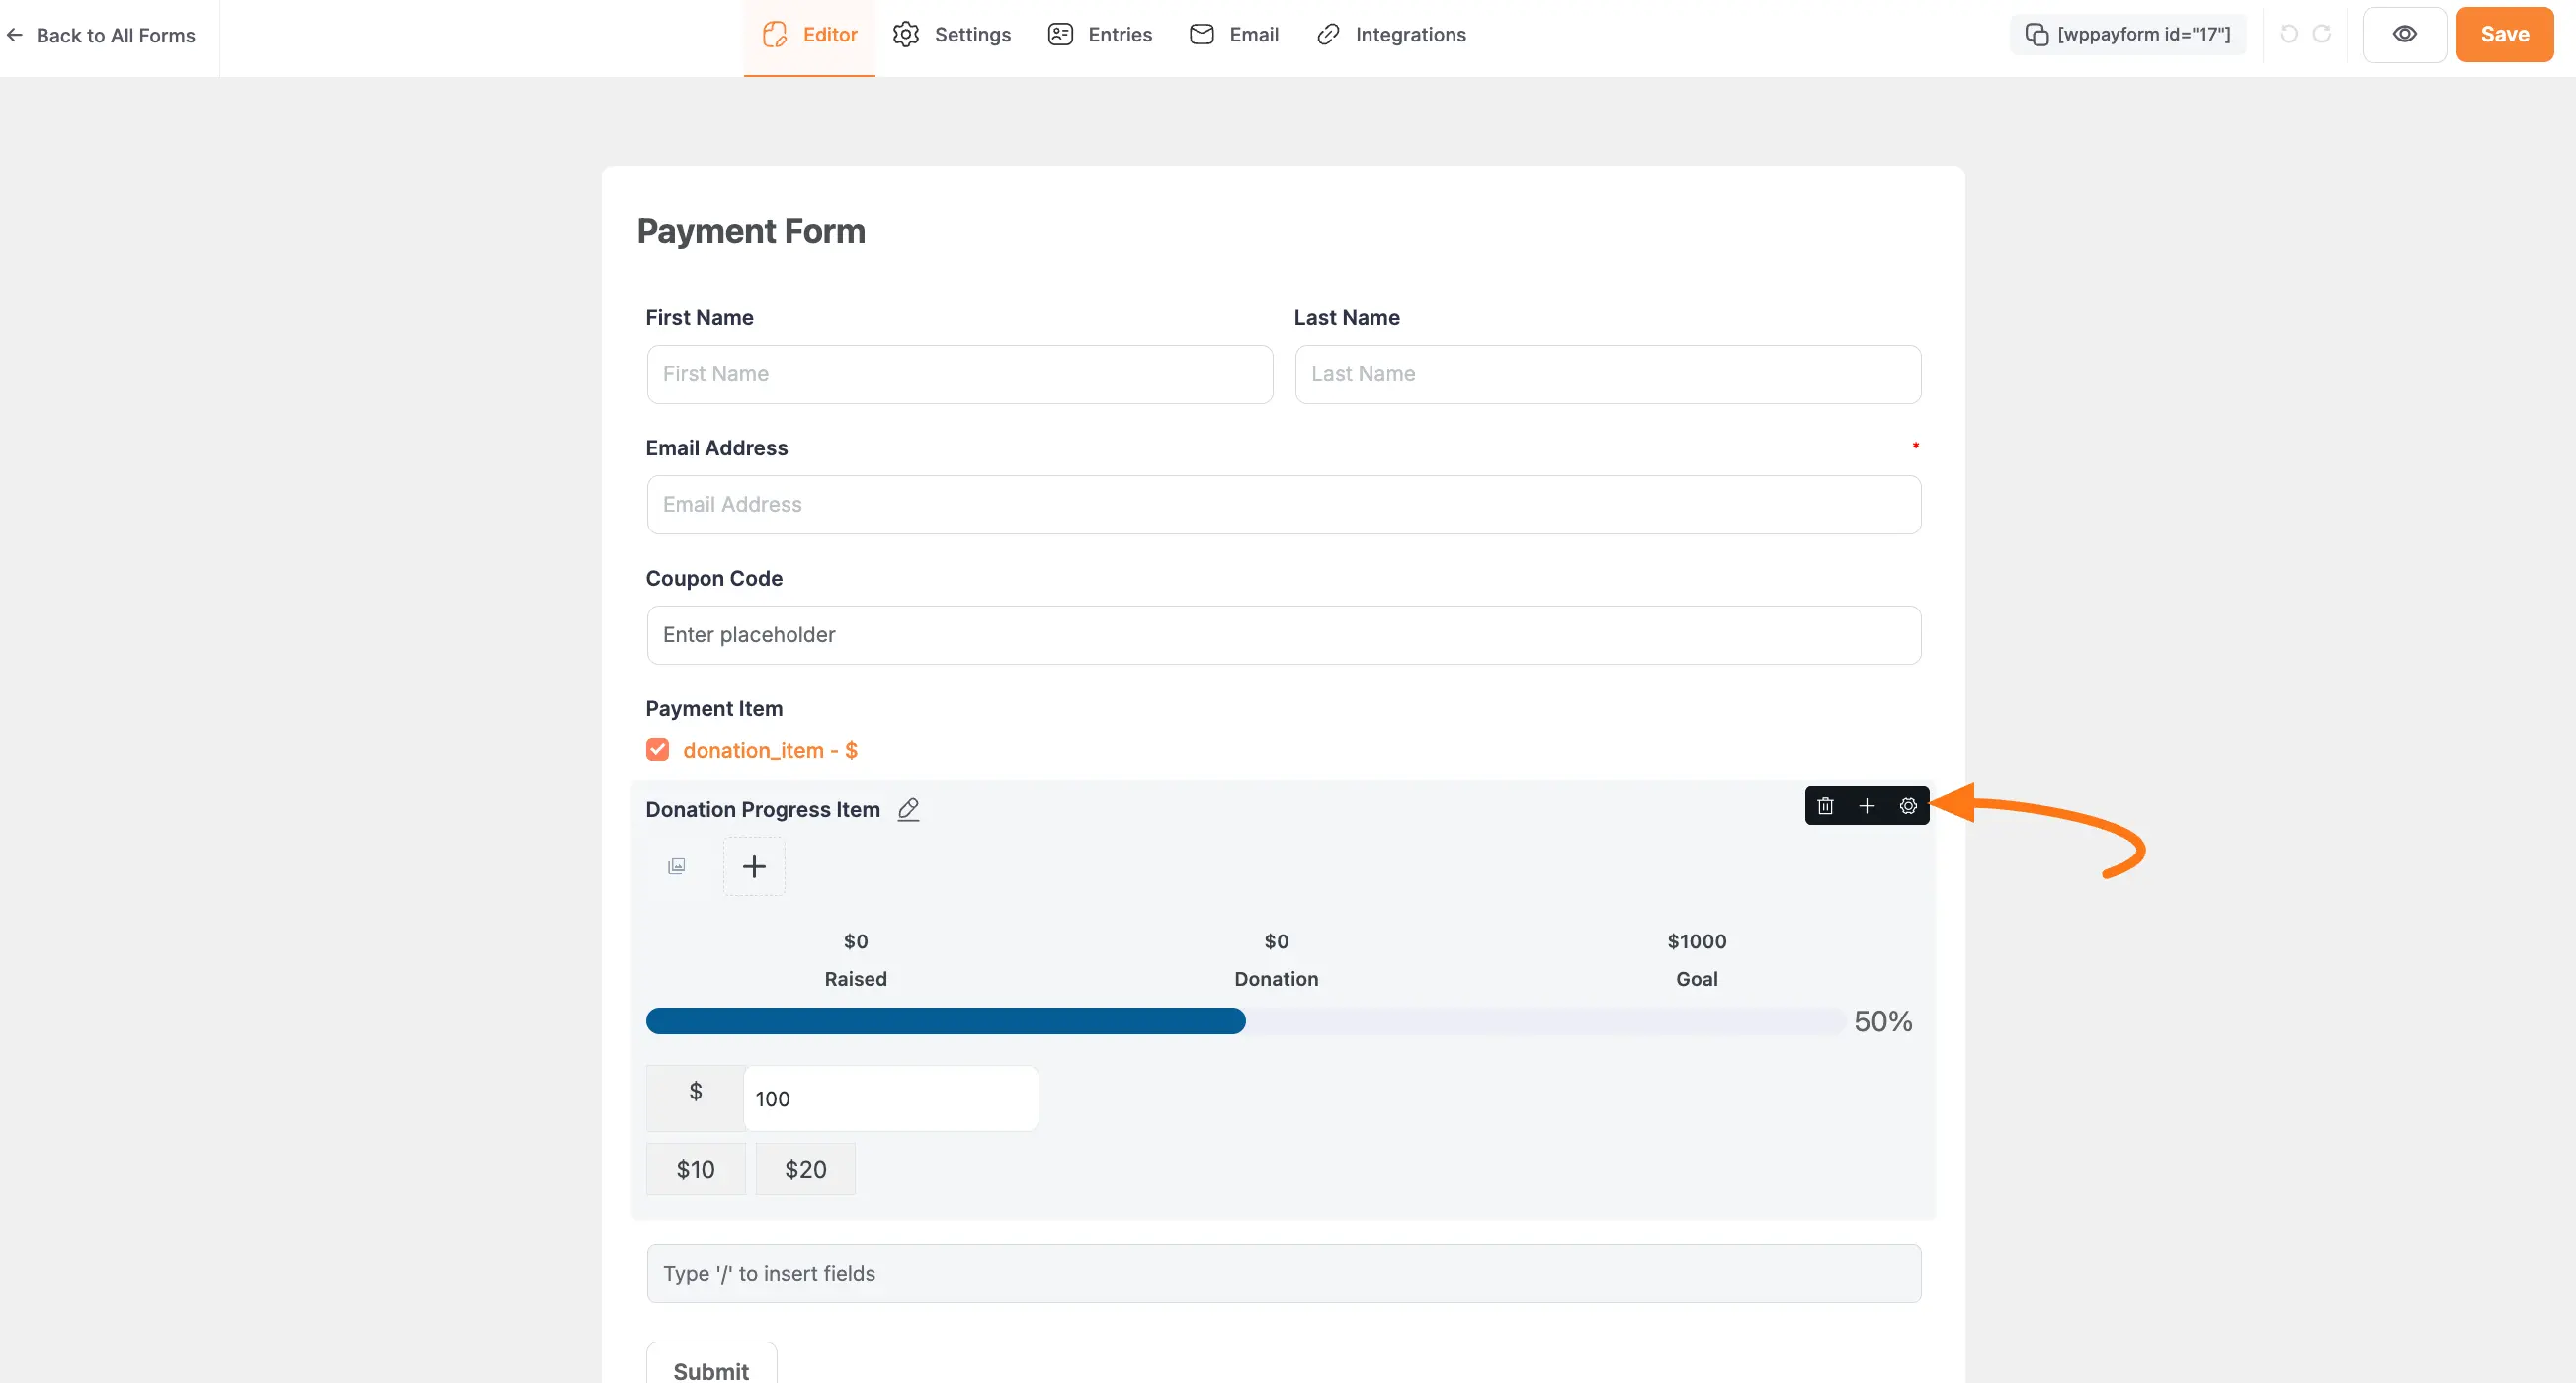
Now add the Donation Progress Item field to your form. After adding the donation progress item, click on the Settings icon. If you want to learn more about the Donation Progress Item field, please read the related article.
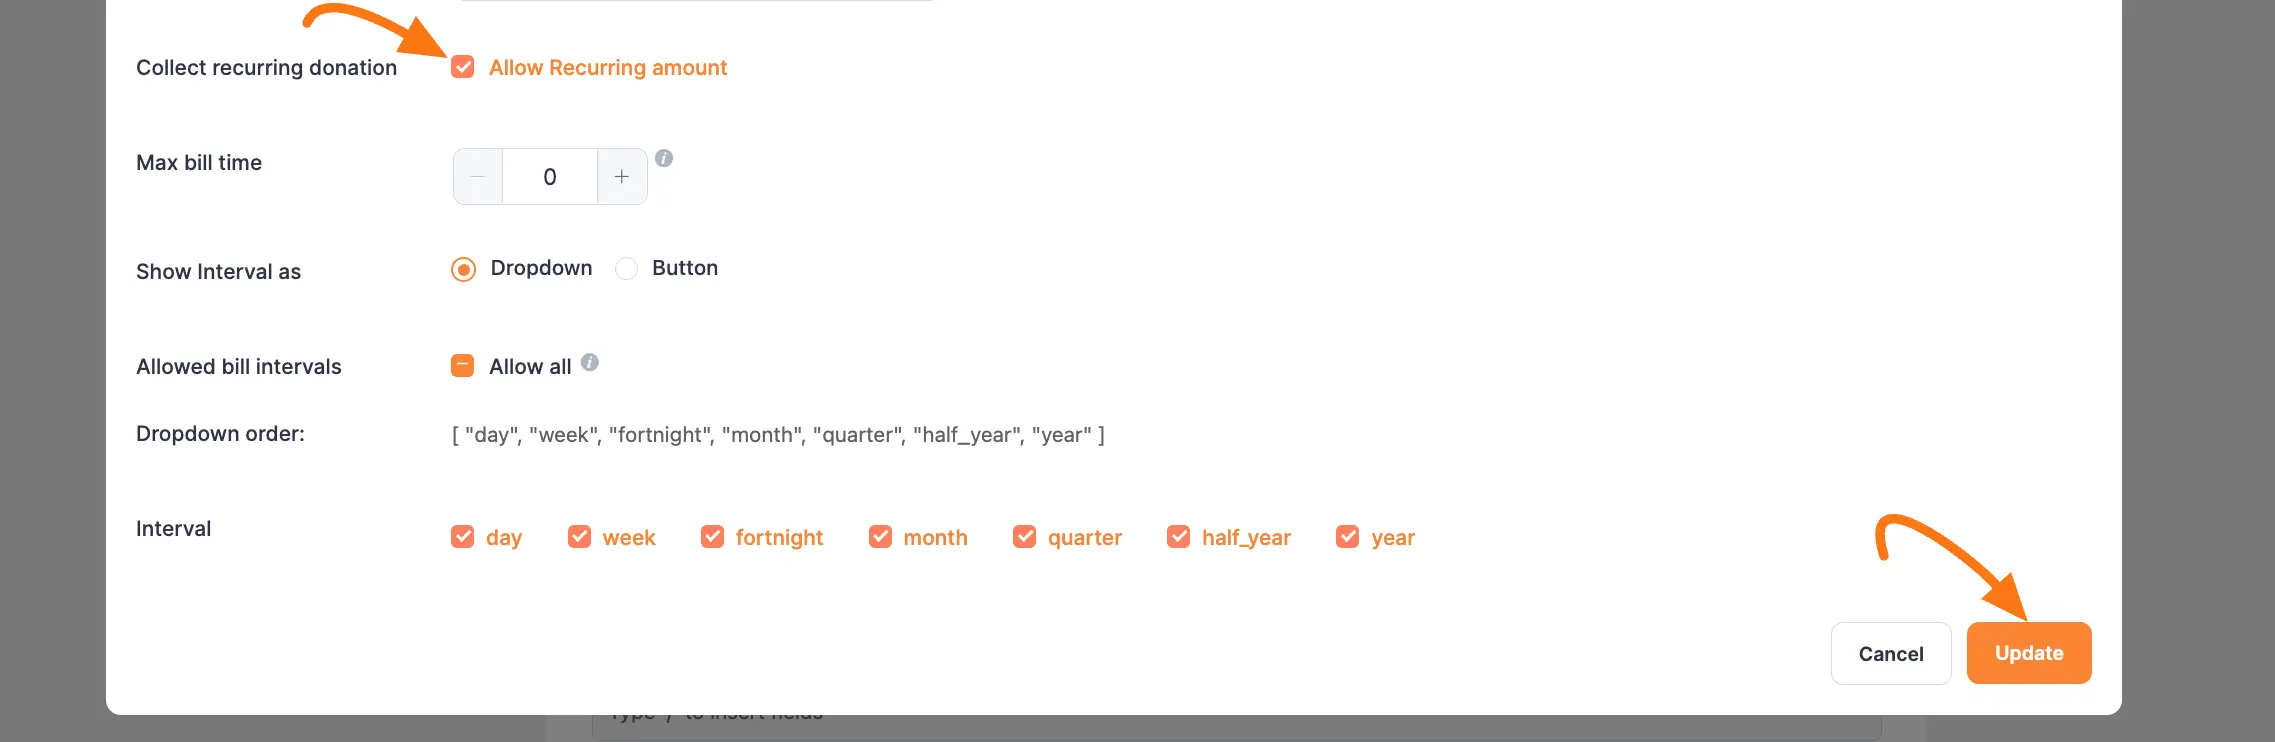
Next, check the box of the Allow Recurring amount option for one-time or recurring donation payment. Once all is done, click the Update button.
Setting Up Email Notifications
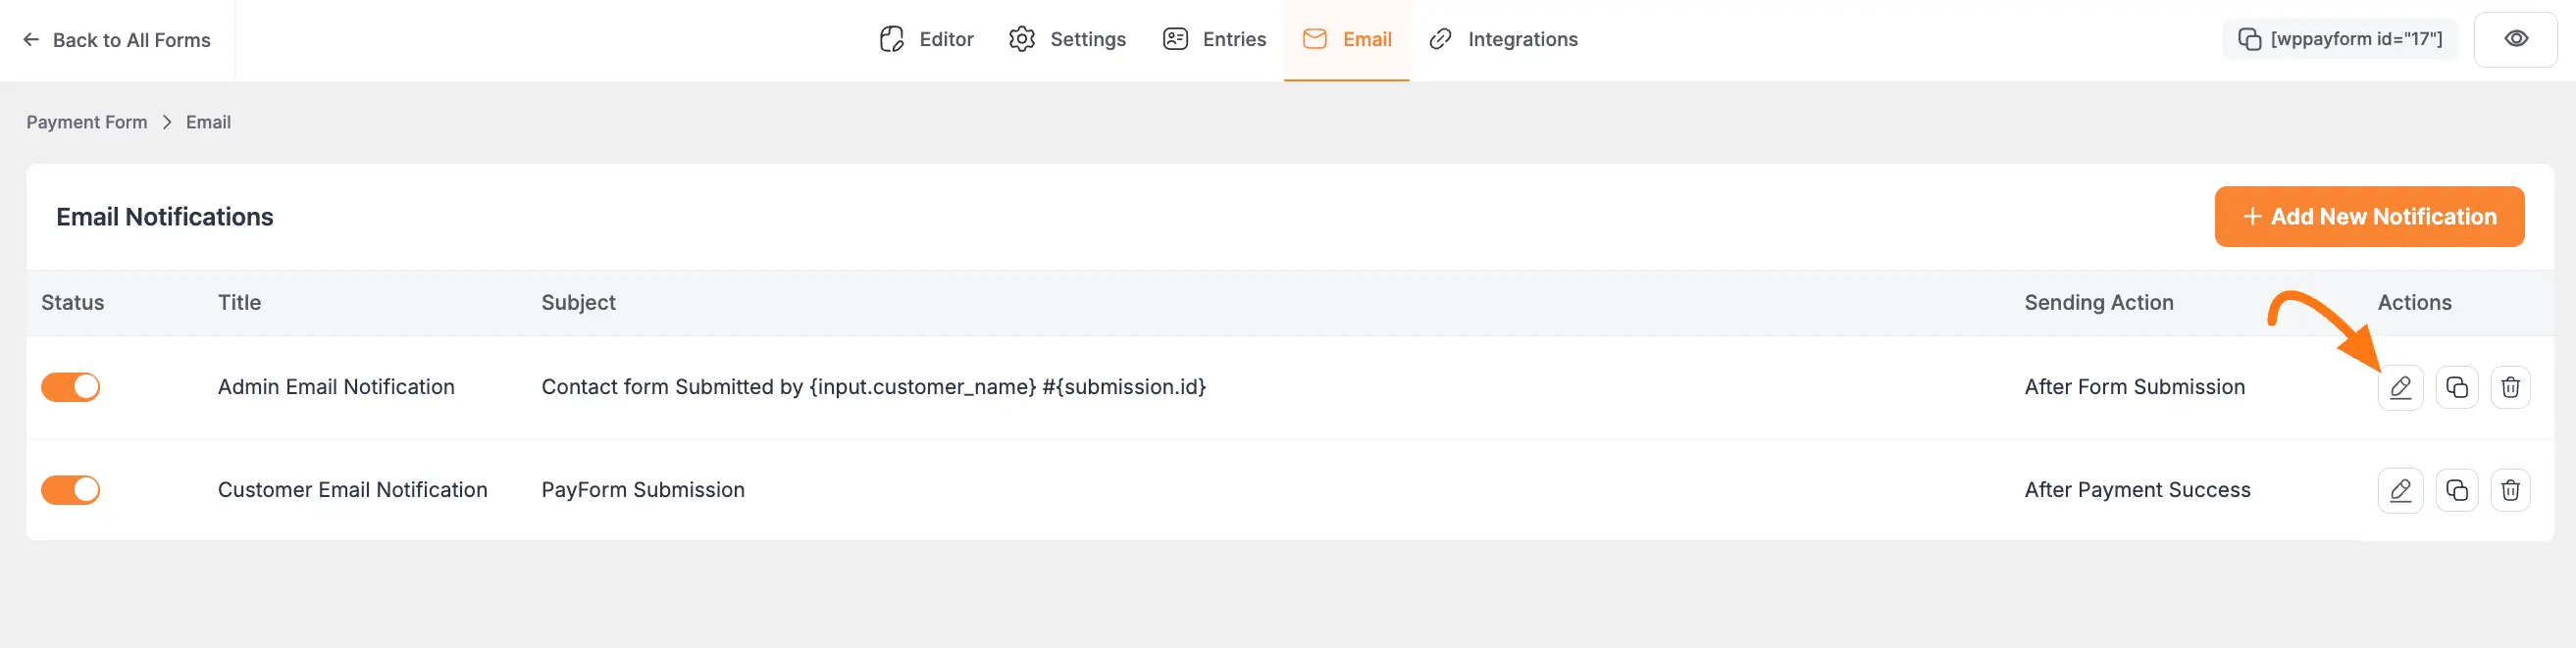
To configure the specific content of the notification, click on Email from the top menu bar. Then, click on the Admin Email Notification Edit option or Customer Email Notification option. First, click on the Edit icon. To learn more about setting up email notifications, refer to the documentation.
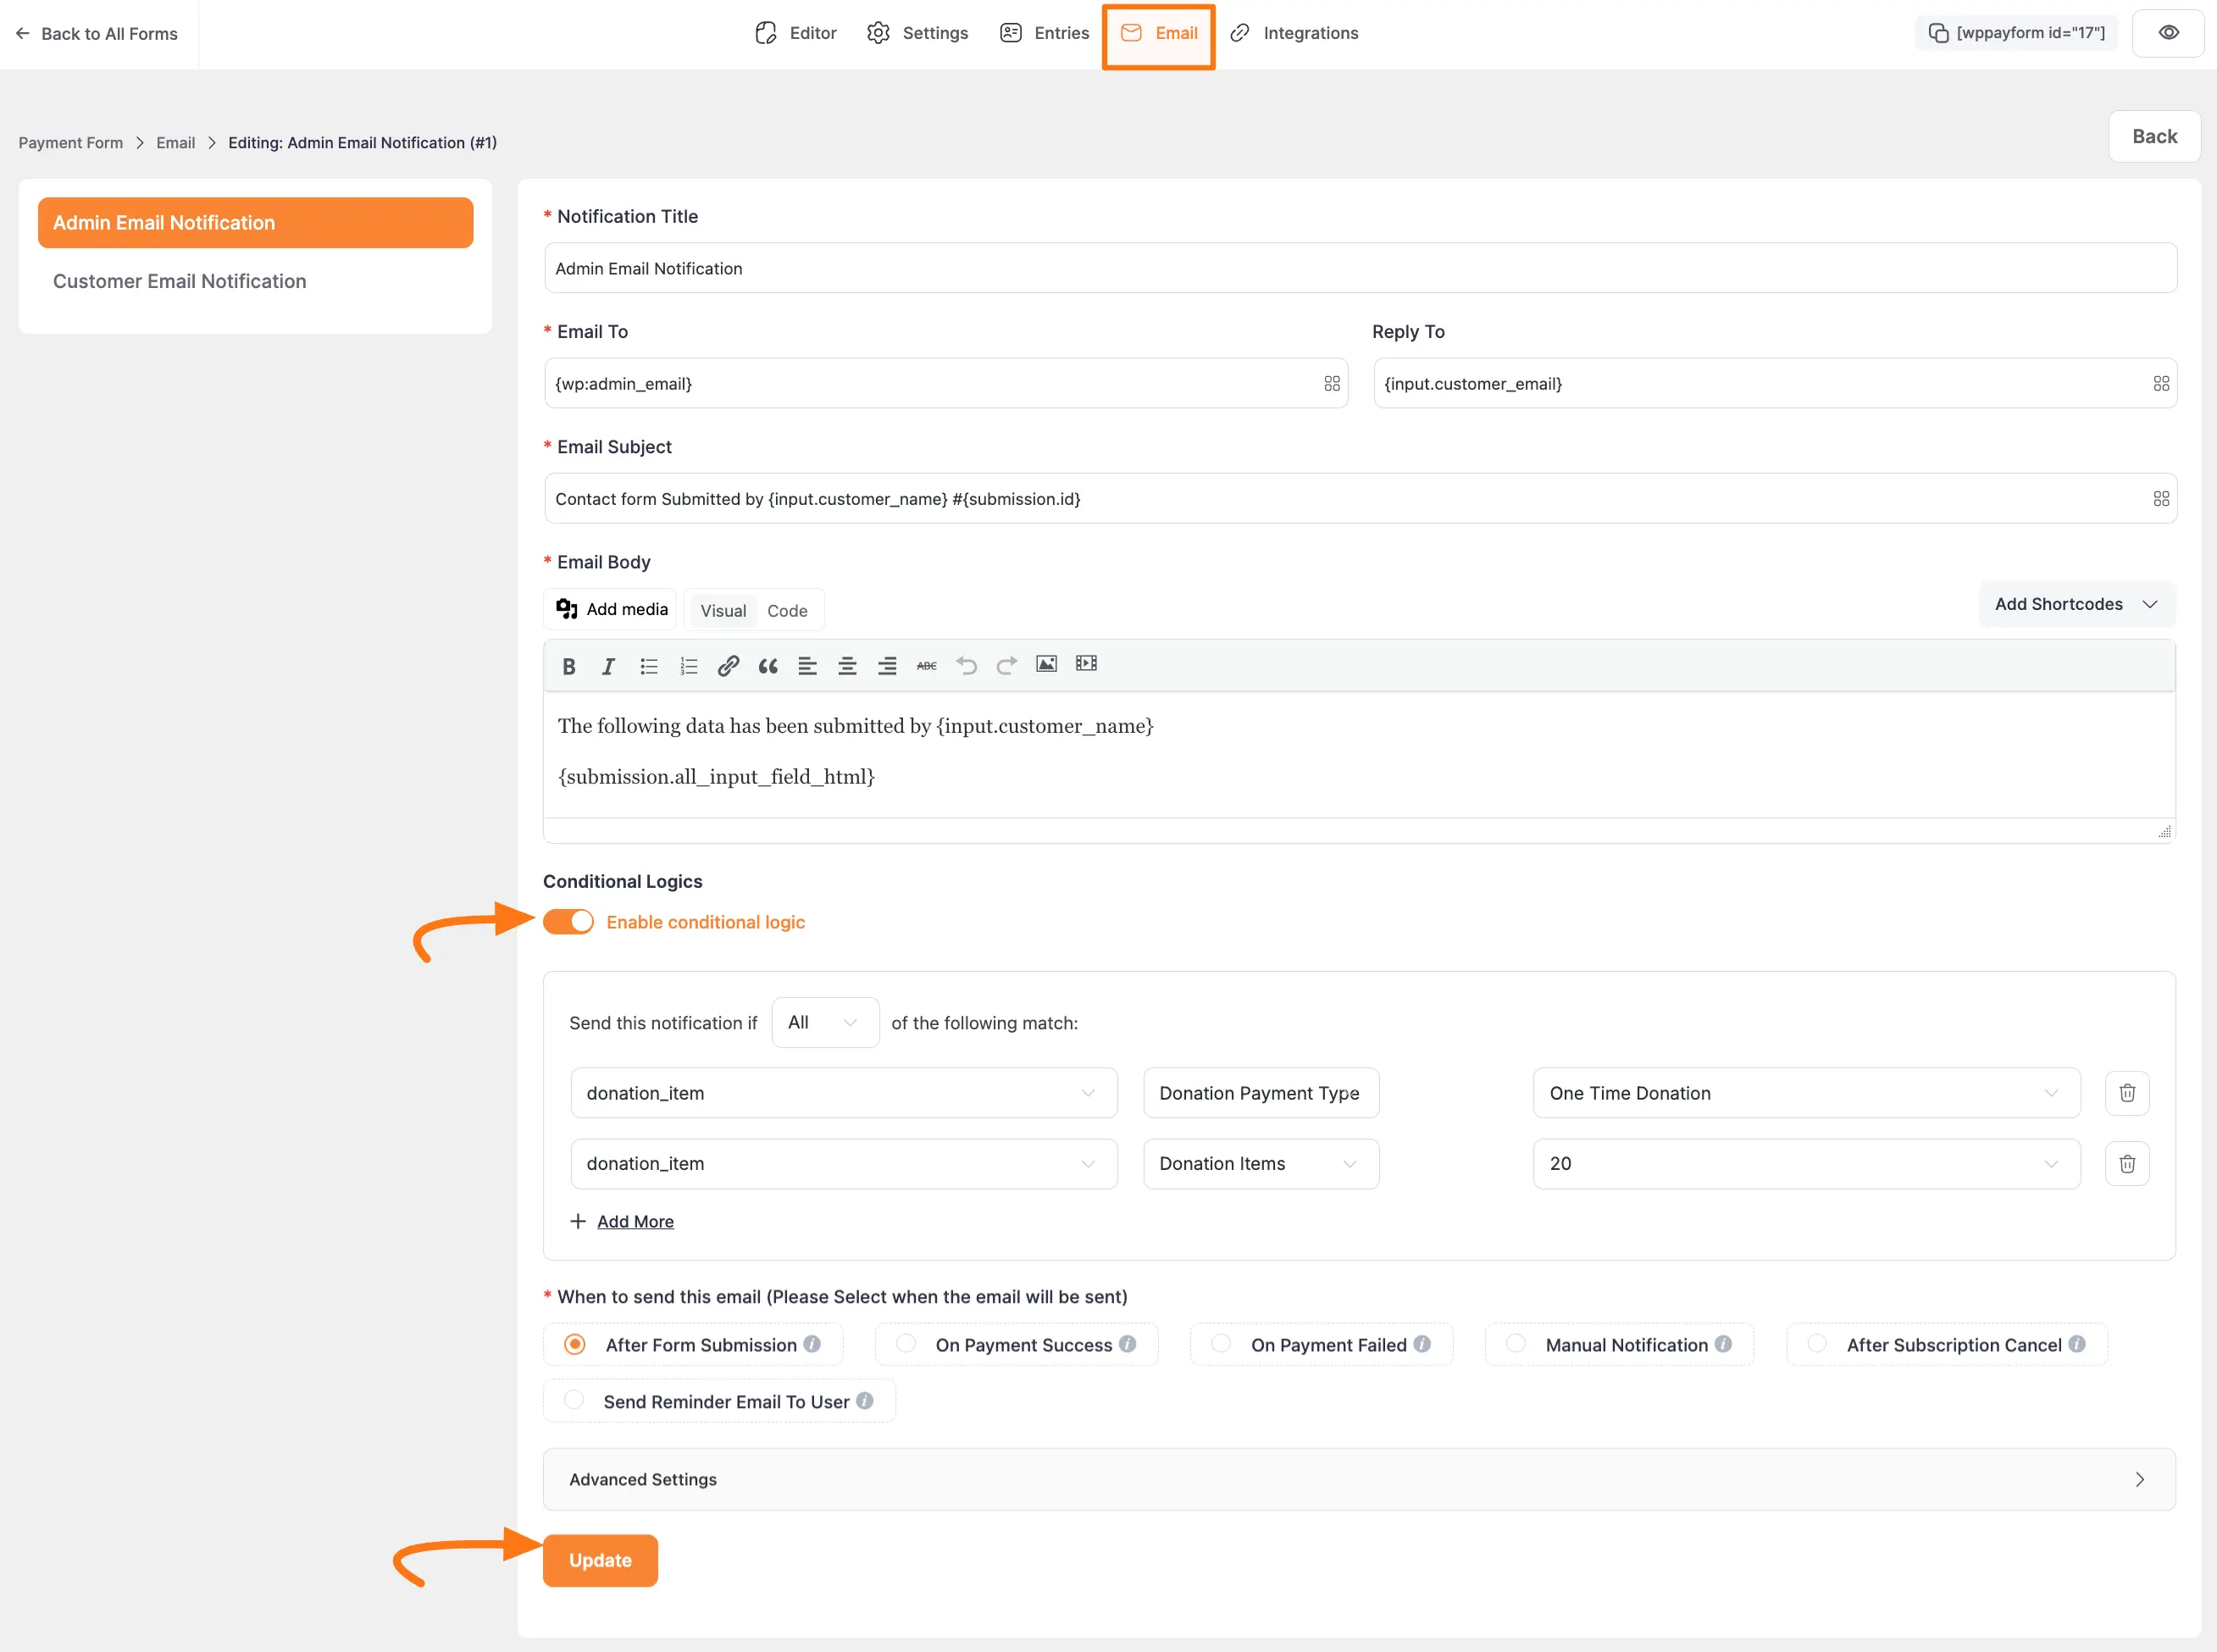
Here appears a new page. Enter the required setting details.
- A. Notification Title: Add a name for this Email Notification so that you can find it later easily. For example, you can name it
Customer Email Notification. - B. Email To: In this field, specify the email address where you want to send your email notifications. Also, you can use the Shortcode options to collect dynamic information.
- C. Reply To: Here, you can specify an email address for users to reply to the notification. If you leave this field blank, the user reply will be sent to the Default Email you set for your site.
- D. Email Subject: Simply, enter the subject line of the email notification in the Email Subject field.
- E. Email Body: Write the body text of your email notification as per your needs in this field. You can also write the message in custom HTML in the Text tab. Plus, you can add different dynamic data in the email body by clicking the Shortcode Icon.
- F. Conditional Logic: If you want to apply any conditional logic to determine when your email notifications will be sent to the users, you can enable the Conditional Logic option by clicking the Toggle button.
- From the dropdown option, select the donatioin_item.
- Then select the Donation Filters from the dropdown option, Donation Payment Type, or Donation Items option.
- After that, select whether it is a One-Time Donation option or a Recurring Donation.
- If you select Donation items, the next step is to set the donation amount.
NOTE
You must enable the Donation Progress Item field in order to use conditional logic for donation item payments.
This way, you can easily set up email notifications for donations through Paymattic!