Add First & Last Name Fields Separately
We often receive inquiries about adding the First Name and Last Name fields separately, horizontally or vertically, in a Payattic Form. This article will guide you through adding the First and Last Name fields in the Paymattic forms.
Adding First & Last Name Fields
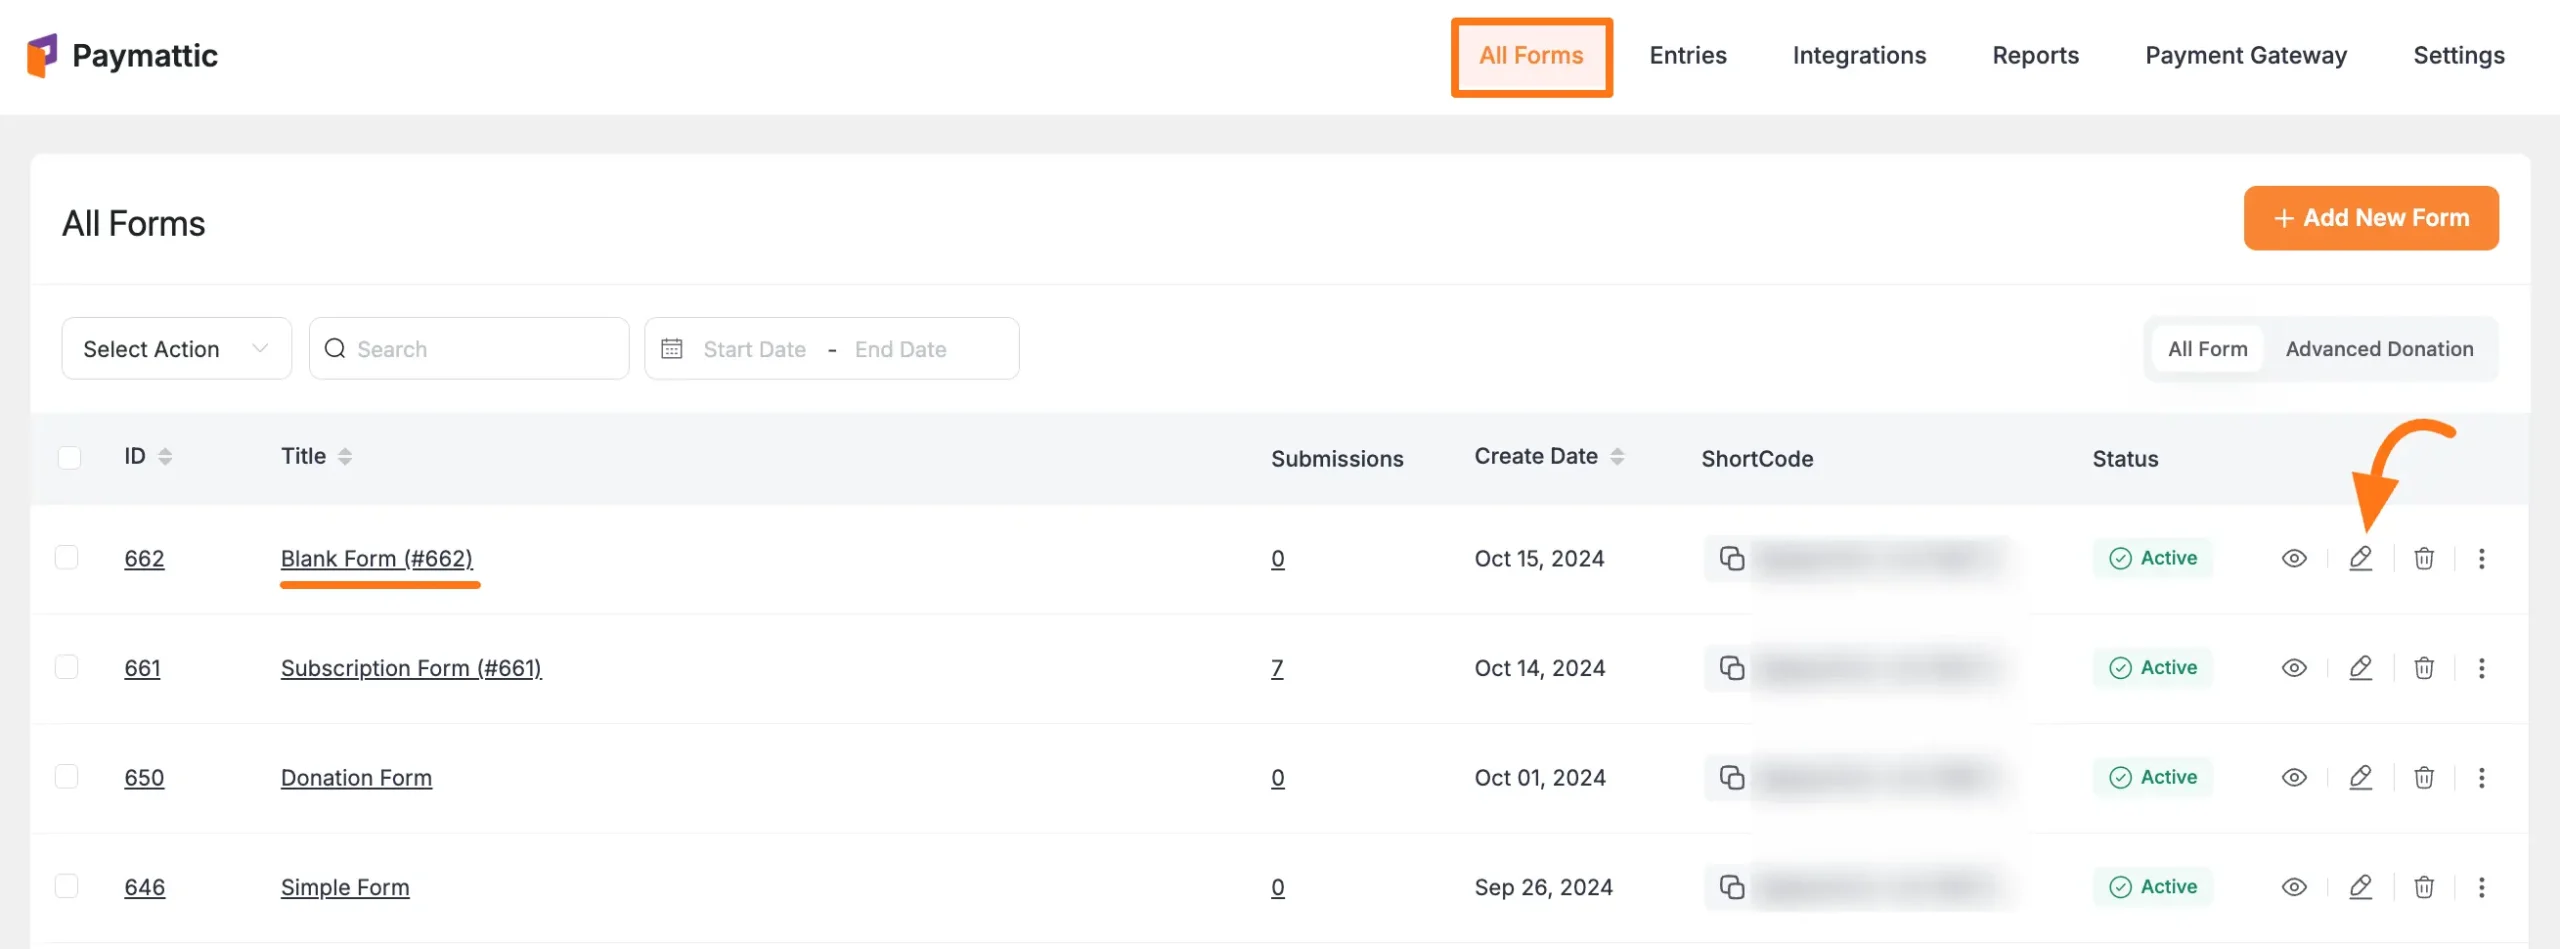
Open your Desired Form where you wish to add the First & Last Name fields.
NOTE
If you do not have any existing forms, read this Create a Form from Scratch or Create a Form Using templates documentation to create one.
For example, here, I used an existing blank form to show the whole process.
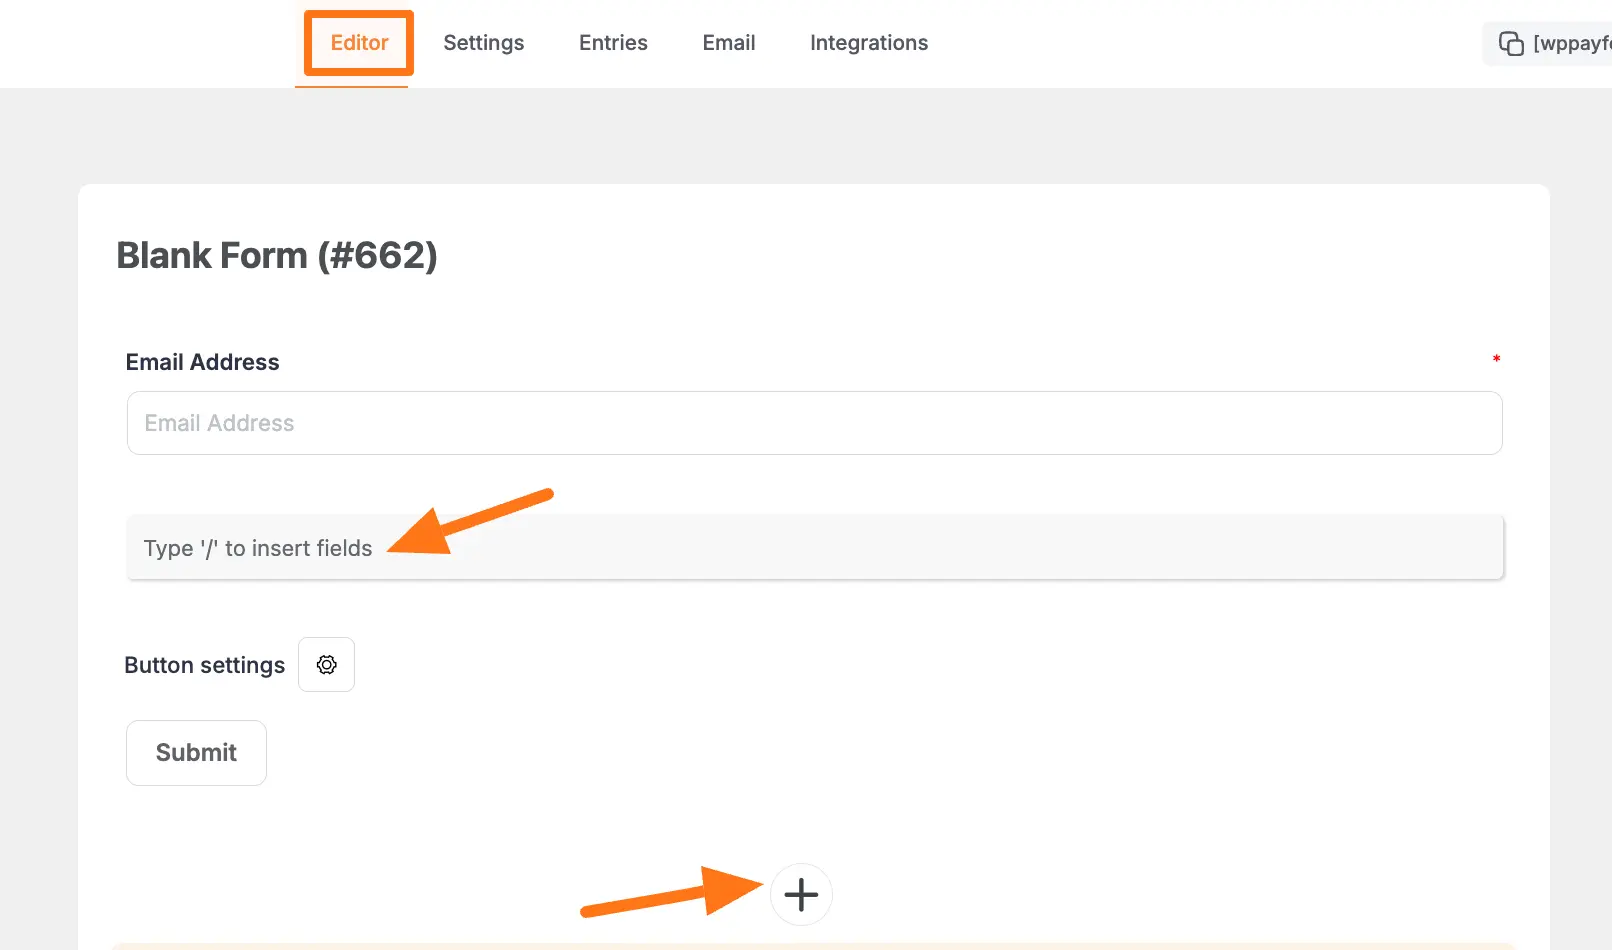
Once you open the Editor page, add the necessary fields by typing the “** /** ” or clicking the Plus Icon placed at the bottom.
NOTE
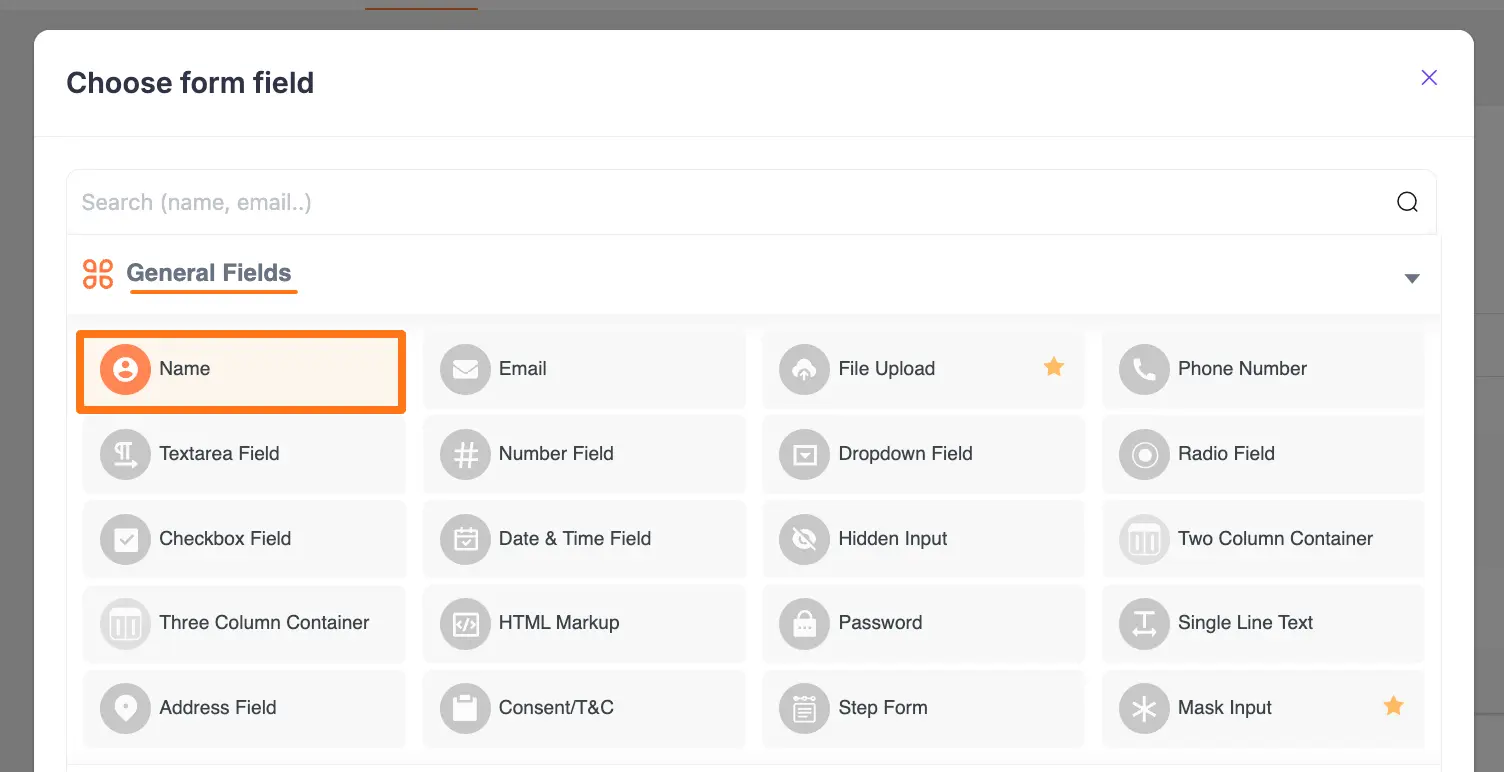
Now, from the General Fields section, you can either choose the Two Column Container field to display two different fields horizontally or select the Name field twice to show them vertically.
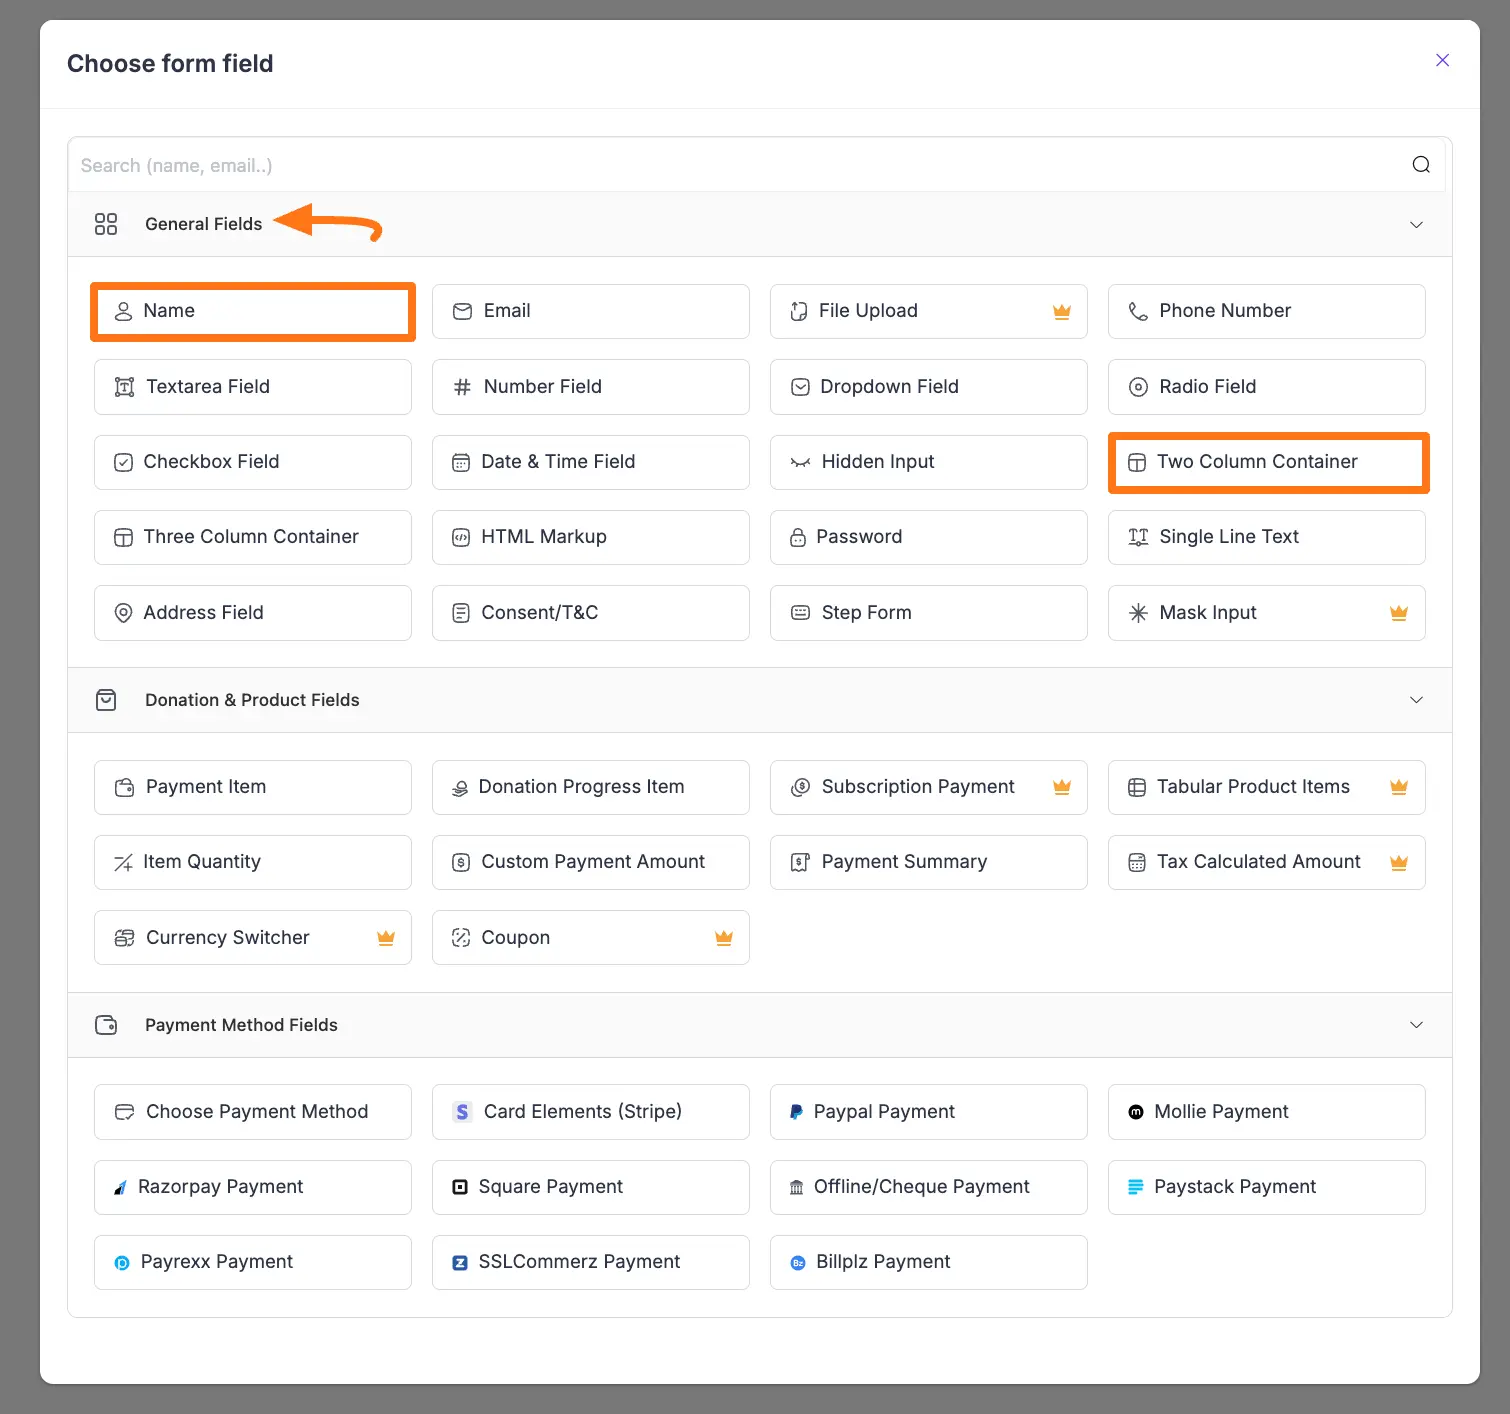
For example, I chose the Two Column Container field under the General Fields section to display the First and Last Name fields in one frame horizontally.

Here, you can see two columns are added. Now, you can separately add Name fields Two Times inside these Two Added Columns.
To add Name fields, click the Plus Icon of each column.
![]()
Once you click the Plus Icon, it will redirect you again to the Choose form field page from where select the Name field options and it will be added to your form.
Customizing the Added Fields
After adding the fields, change the name of the fields from Your Name to First Name and Last Name respectively by clicking the Pencil/Edit icon.
NOTE
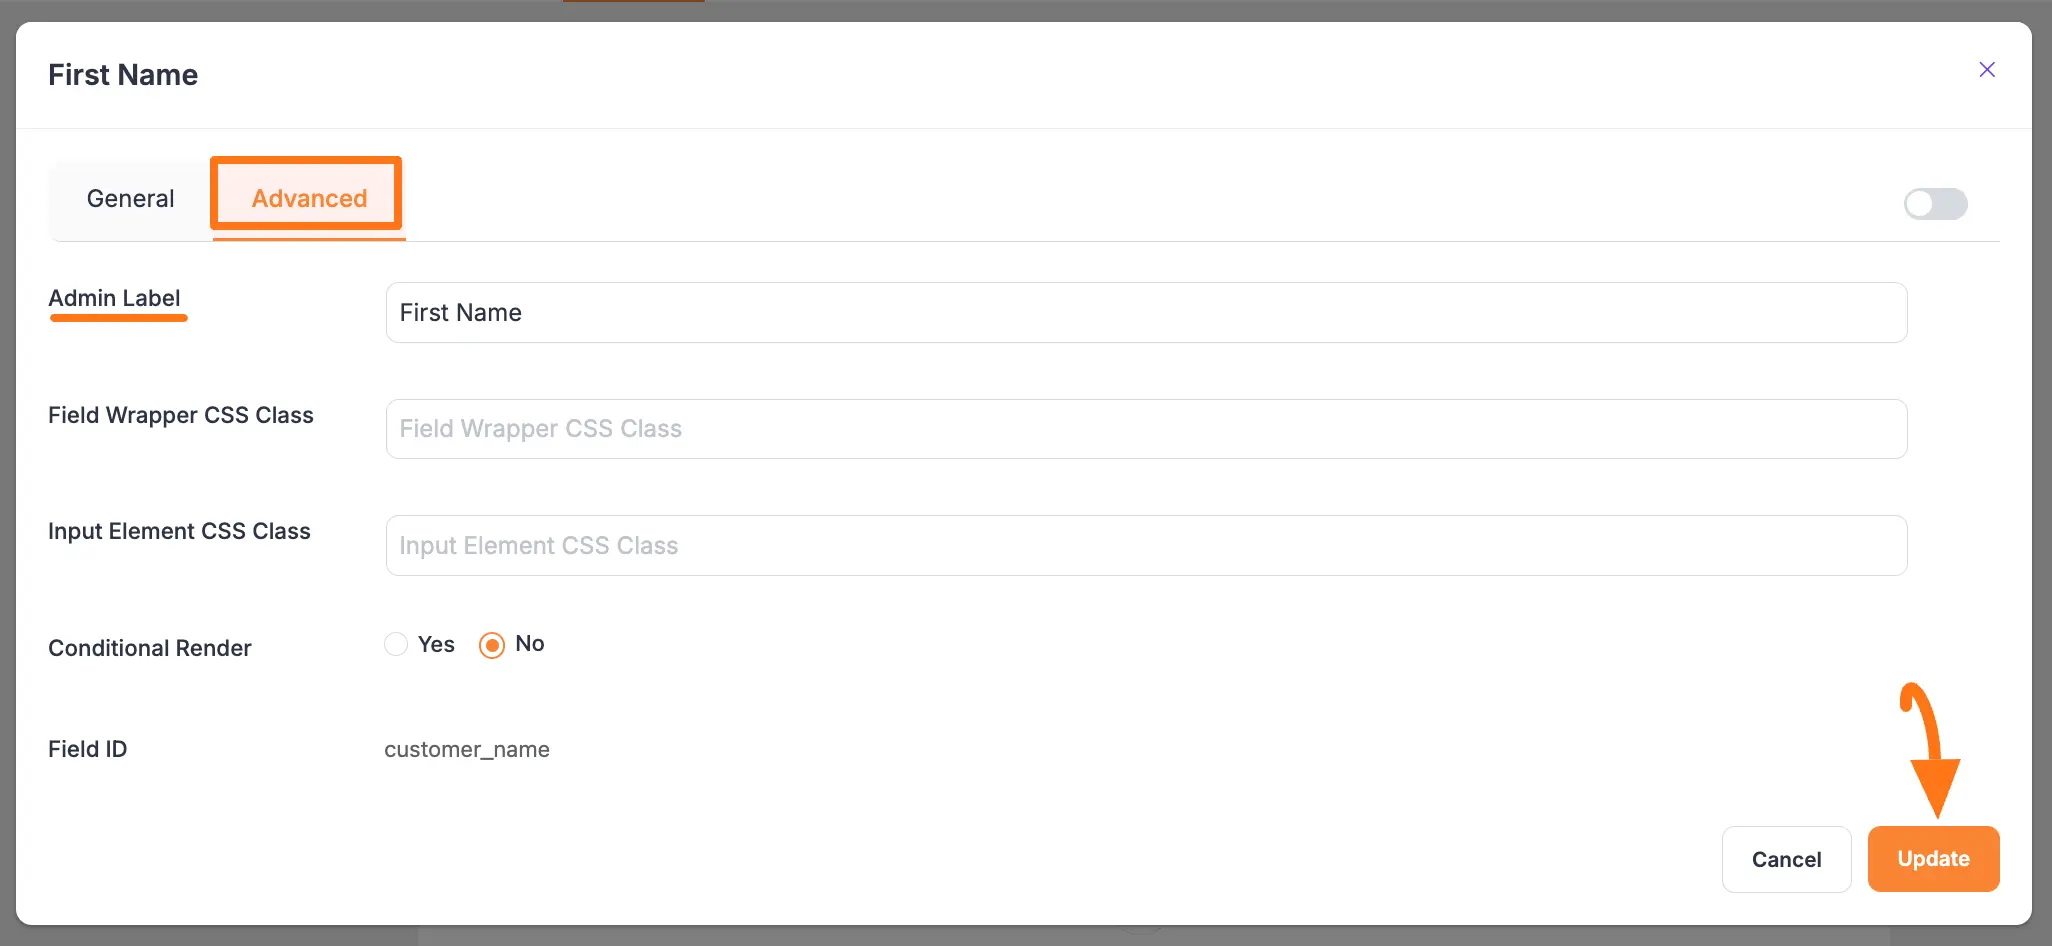
"To ensure the fields function properly, you need to change the field names at the Admin Label in the Advanced Settings of the Name field as well.
If you do not change the names in the Admin Label, you will not see the added name fields separately (e.g., in the Entries, PDF file, and overall Admin backend) except the form preview only."
![]()
To change the name in the Admin Label, click the Settings Icon of the Name fields.
![]()
Now, go to the Advanced Settings, write the desired name in the Admin Label box, and click the Update button.
For example, here, I wrote First Name for the First Name field.
Additional Customization
For more customization options, see:
Save and Preview
Once you change the fields’ names from Your Name to First Name and Last Name respectively, press the Save button to save all the changes.
If you want to see the Preview of the form, click the Eye icon.
Also, to embed and display the form on a specific Page/Post, copy this Shortcode and paste it into your desired Page/Post.

Here, you can see the preview of the separately added First Name and Last Name fields.
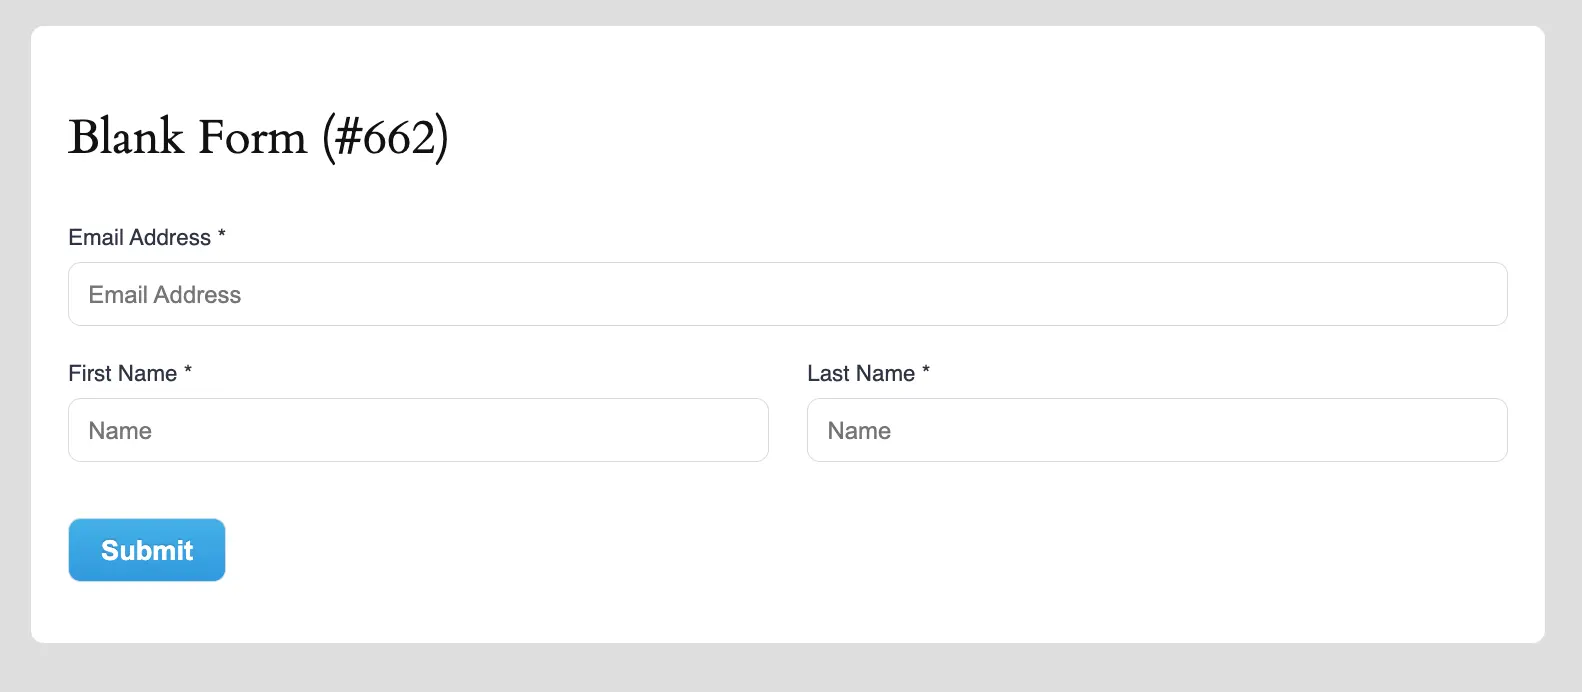
This way you can easily add the First & Last Name fields separately in Paymattic Forms!
Need Help?
If you have any questions, concerns, or suggestions, please contact our support team.